
Last updated November 2, 2026
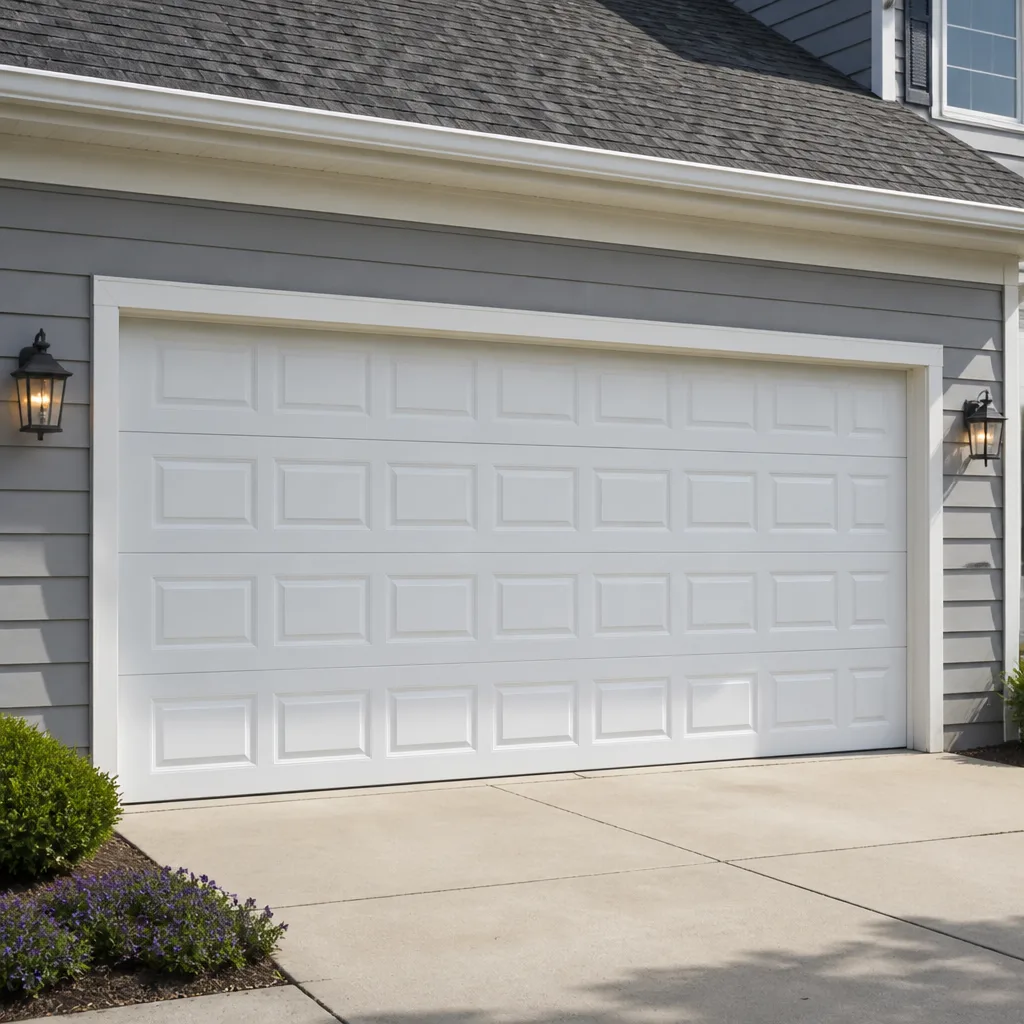 Raised-panel steel
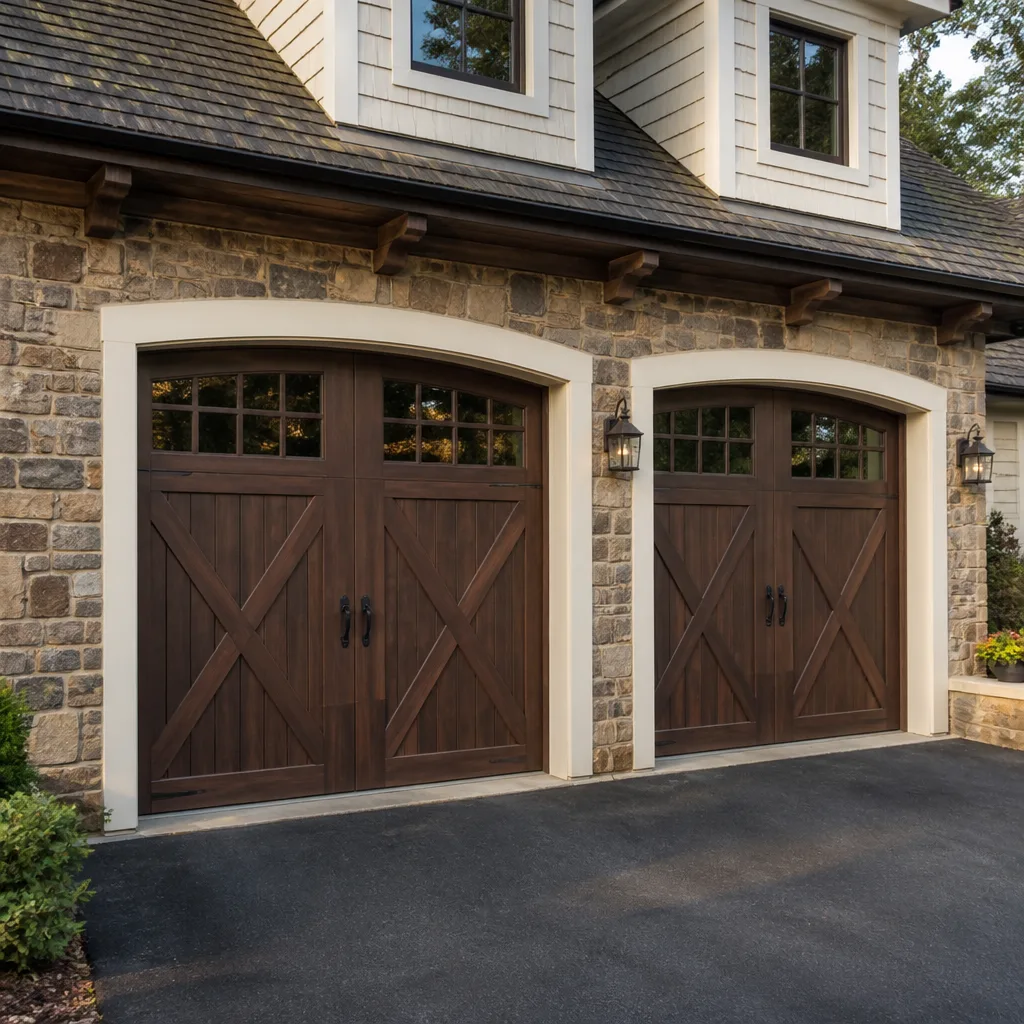 Carriage house
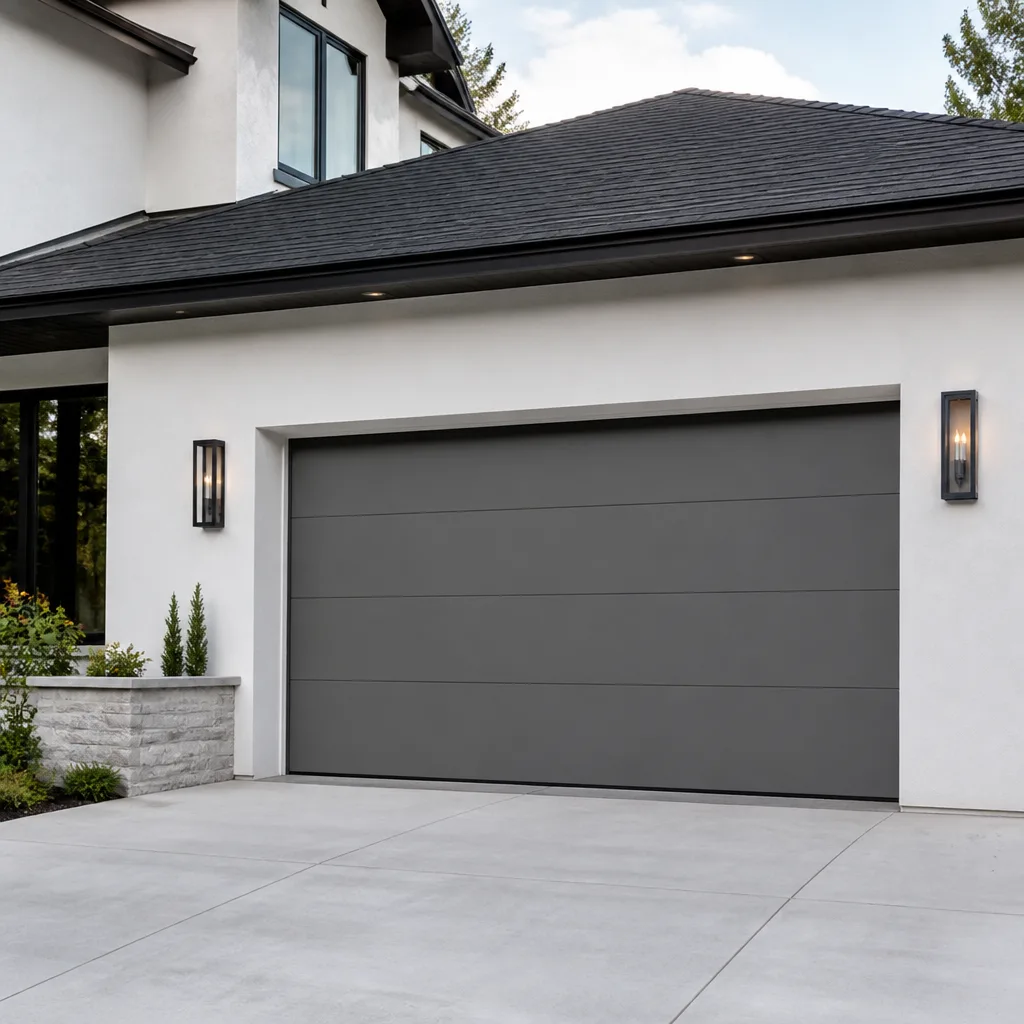 Modern flush
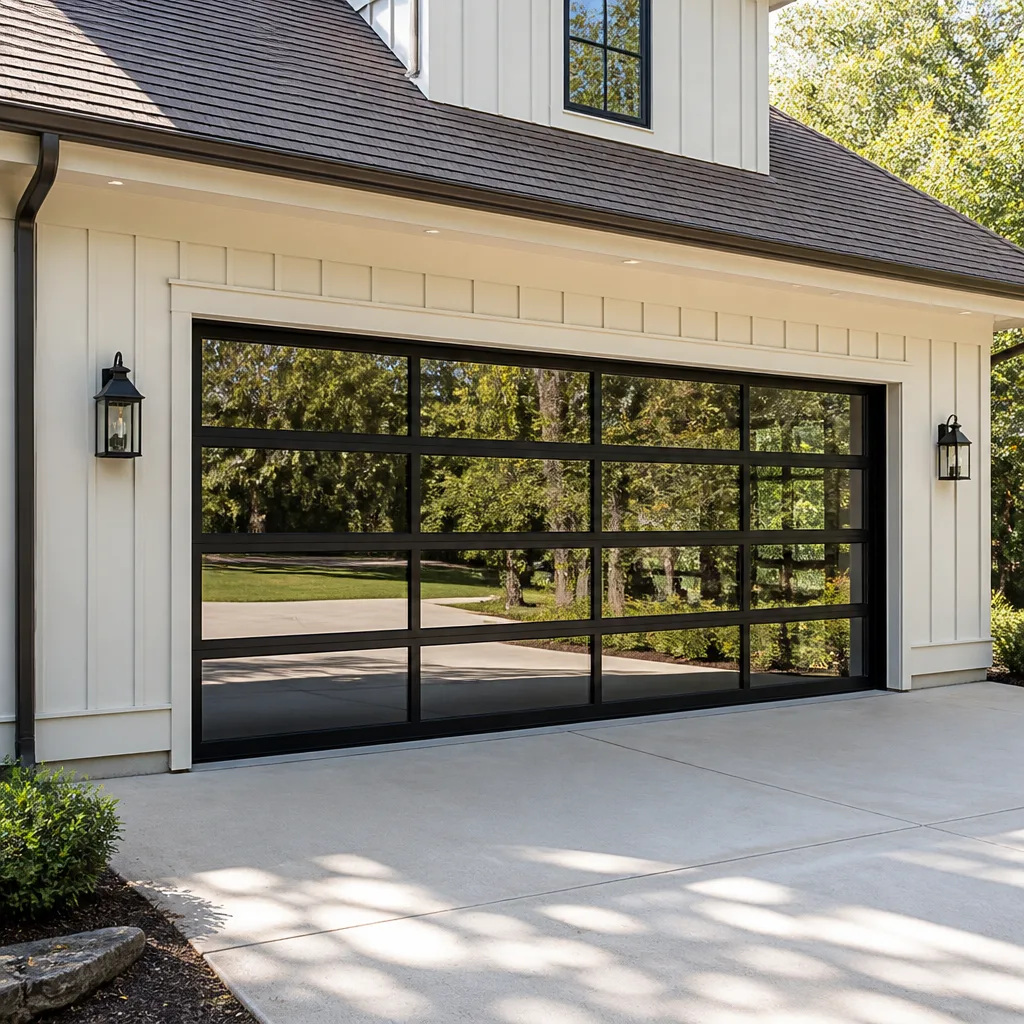 Full-view glass
 LiftMaster openers
 Chamberlain openers
Full 25-point door and opener safety check with every visit - springs, cables, rollers, tracks, and your LiftMaster or Chamberlain opener included
You get a price before we start. It does not change when the truck arrives.
Get your free estimateGarage Door Permits, Codes & Inspections in CA: What You Need to Know
Replacing a garage door sounds like a straightforward swap. You pull the old panels, hang the new ones, adjust the springs, and you’re done. But in California, that “simple” replacement can turn into a phone call from your real estate agent six years later, telling you the sale is stalled because a title search flagged an unpermitted installation. This happens more often than most homeowners realize, and Downtown San Diego’s mix of older homes, newer condos, and strict HOA communities makes it especially common. This guide explains exactly when a permit is required, what a San Diego inspector actually checks, and how to avoid a retroactive permit headache that can cost thousands.
Quick Answer
Most full garage door replacements in California require a building permit through your local jurisdiction, and in San Diego that means the Development Services Department. Simple repairs like spring replacement, panel realignment, or opener motor swaps are generally exempt. The trigger isn’t whether the new door looks like the old one; it’s whether the work changes the structure, the fire rating, or the energy performance of the building envelope.
Styles & brands we work with
- Raised-panel steel
- Carriage house
- Modern flush
- Full-view glass
- LiftMaster openers
- Chamberlain openers
Table of Contents
- What Actually Triggers a Garage Door Permit in San Diego
- Work That Does NOT Need a Permit
- Title 24 and the Attached Garage: Why Energy Code Applies
- The San Diego Garage Door Inspection Checklist
- HOA Architectural Approval: The Parallel Process
- What Happens When Unpermitted Work Is Discovered
- What a Permit Costs and How Long It Takes
- Common Mistakes to Avoid
What Actually Triggers a Garage Door Permit in San Diego
The City of San Diego, through its Development Services Department, requires a building permit for any garage door work that alters the structural opening, changes the door’s fire resistance rating, or modifies the building’s exterior envelope in a way that affects energy compliance. In plain terms: if you’re taking out the old door and installing a new one, you almost certainly need a permit. If you’re fixing what’s already there, you probably don’t.
Here’s the distinction that matters:
- Full door replacement: Removing the existing door, track system, and weatherstripping, then installing a new door assembly. This requires a permit because the new door must meet current California Building Code requirements for wind load, fire separation between garage and living space, and Title 24 energy standards for attached garages.
- Structural modifications: Widening the opening, replacing the header, altering the jambs, or changing the framing in any way. This is a structural permit, not a simple door permit, and usually requires engineered drawings.
- Converting a solid door to one with windows: This changes the door’s insulation value and, if the garage is attached, affects the energy performance of the conditioned envelope boundary. It triggers a permit.
- Spring replacement, cable repair, panel realignment, roller replacement: These are repairs to existing components. No permit needed.
- Opener motor replacement: If you’re swapping the motor unit on an existing opener, no permit. If you’re installing a new opener where one didn’t exist before, some jurisdictions require an electrical permit. San Diego treats replacement of a like-for-like opener as exempt.
Downtown San Diego adds a layer to this. Many of the residential buildings in neighborhoods like Little Italy, East Village, and the Gaslamp Quarter are mid-rise condos or loft conversions where the garage is on a shared structural deck. In those buildings, a “full door replacement” can involve fire-rated assemblies, shared header support, and building-wide energy calculations. The permit path is the same, but the inspection is typically more demanding because the inspector is verifying compliance in a multi-family setting, not a single-family home.
In our experience working on doors from Wayne Dalton, Raynor, and LiftMaster in these Downtown buildings, the installation itself is often the easy part. The paperwork and the inspection schedule are where most homeowners get frustrated. Knowing the triggers before you buy the door saves a lot of that frustration.
Need a full overview of what we handle? See the Willow Garage Door Repair home service range. If your door needs work first, check out Garage Door Repair in Downtown San Diego for specifics on repair work that typically doesn’t require a permit.
Work That Does NOT Need a Permit
California Building Code Section 105.2 lists work exempt from permit requirements. For garage doors, the exemption covers repair and maintenance that doesn’t change the door’s structural or energy characteristics. This is the part most homeowners care about, because it covers the work you’ll actually need most often.
Exempt work includes:
- Spring replacement (torsion or extension springs on an existing door)
- Cable and drum replacement
- Roller, hinge, and bracket replacement
- Track realignment and repair
- Weatherstripping and seal replacement
- Opener motor replacement (like-for-like, same location, no new wiring)
- Safety sensor replacement or realignment
- Logic board or drive gear repair on an existing opener
The key phrase in the code is “like-for-like.” If the repair restores the door to its original condition without changing materials, dimensions, or fire rating, it’s exempt. Swap a Craftsman opener motor for another Craftsman motor with the same electrical draw? Exempt. Replace a broken Raynor panel with an identical panel from the same manufacturer series? Exempt, technically, though in practice panel replacement on an older door often leads to a full replacement conversation because matching faded or discontinued panels is rare.
One caution: “like-for-like” does not mean “looks similar.” A homeowner who replaces a solid steel door with a windowed door of the same dimensions has changed the door’s thermal performance and fire characteristics. That’s not like-for-like, and it’s the kind of thing that surfaces as a problem later.
If your opener is giving you trouble, know the difference between what’s repairable and what triggers a permit conversation. Our guide on Garage Door Opener Repair in Downtown San Diego walks through common failure points and what a technician looks for.
Title 24 and the Attached Garage: Why Energy Code Applies
California’s Title 24, Part 6, the state’s energy code, applies to garage doors when the garage shares a wall or ceiling with conditioned living space. In a standard single-family home where the garage is under a bedroom, that shared boundary has insulation requirements. In many Downtown San Diego loft conversions and townhome configurations, the garage is either directly below living space or attached side-by-side, which means the garage door itself becomes part of the thermal boundary.
Here’s what Title 24 requires for garage doors in these configurations:
- Insulation value: Garage doors attached to conditioned space must meet a minimum R-value. The current standard for most residential garage doors is R-6.5 for a single-layer steel door with an insulated core, though many Downtown buildings spec R-8 or higher.
- Air infiltration limits: The door’s perimeter seal must meet specific air leakage standards. The inspector will check the weatherstripping at the header, jambs, and threshold.
- Glazing requirements: If the new door has windows, the glass must meet Title 24’s fenestration requirements. Single-pane glass in a garage door attached to living space generally won’t pass.
- Documentation: The installer must provide the door’s U-factor and R-value documentation. The inspector verifies that documentation matches what’s installed.
This is where brand-agnostic knowledge matters. A Wayne Dalton insulated steel door and a Raynor insulated aluminum door can both meet Title 24, but only if the correct models are specified. Cheaper non-insulated doors from any brand will fail inspection in an attached-garage application. We’ve seen Downtown San Diego condo owners buy a door online because it looked identical to the old one, only to discover during inspection that the original door was an insulated model and the replacement wasn’t – exactly the kind of mistake our Garage Door Repair Troubleshooting: Common Problems and How to Fix Them guide helps you avoid.
The fix in that situation isn’t a simple paperwork correction. The inspector will require either a door swap or a compliance documentation review that can take weeks. Choosing the right door the first time, before the permit application goes in, avoids this entirely.
The San Diego Garage Door Inspection Checklist
Once the permit is issued and the door is installed, the City of San Diego sends an inspector to verify compliance. The inspection typically takes 15 to 30 minutes, and the inspector works from a checklist. Knowing what’s on that list before the install happens is the difference between passing on the first visit and scheduling a re-inspection.
Here’s what a San Diego building inspector actually checks for a residential garage door permit:
- Permit documentation on site: The permit card must be posted or available. The inspector matches the address and permit number.
- Door dimensions match the approved plans: The opening, the door size, and the track configuration must match what was submitted. Any deviation requires a plan revision.
- Fire separation compliance: For attached garages, the door itself and the surrounding assembly must maintain the required fire rating. In most single-family homes, the garage-to-home separation is 1/2-inch drywall on the shared wall and a solid-core self-closing door between the garage and the house. The garage door itself doesn’t carry a fire rating in standard residential applications, but the inspector verifies that the new door doesn’t compromise the existing separation.
- Wind load compliance: San Diego’s coastal location means garage doors must meet specific wind pressure requirements. The inspector checks the door’s wind load documentation and verifies that the track and mounting hardware match the specified products.
- Title 24 energy documentation: When the garage is attached to conditioned space, the door’s R-value and U-factor documentation must be present and must match the installed product.
- Safety sensor operation: If a new opener is included, the inspector tests the photoelectric sensors by blocking the beam and verifying the door reverses.
- Weatherstripping and sealing: The inspector checks that the perimeter seals are installed and that the door closes flush against the jamb and header stops.
- Proper attachment of hardware: Track brackets, spring pads, and opener mounting must be secured to structural members, not just drywall or paneling.
The most common re-inspection reason we see in Downtown San Diego is missing energy documentation on attached-garage installs, followed by sensor misalignment. Both are preventable before the inspector arrives.
When the job involves a full new door, the process is bigger than a simple swap. Our Garage Door Installation in Downtown San Diego page covers what to expect from start to finish, including the permit path.
HOA Architectural Approval: The Parallel Process
City permit in hand and inspection passed? That doesn’t mean you’re done. In Downtown San Diego, where HOAs govern a huge percentage of residential properties, architectural review is a completely separate process from city permitting. You can pass a city inspection with a fully compliant door and still be in violation of your HOA’s CC&Rs.
HOAs in Downtown communities typically review:
- Door color and finish: Many HOAs in Mark District buildings and Little Italy townhome communities maintain a limited palette of approved colors. A door that meets city code but violates the palette can trigger a demand to repaint or replace.
- Panel style and window pattern: HOAs often require that doors match the architectural character of the building. A carriage-house style door on a modern loft building might get rejected even if it’s code-compliant.
- Insulation specifications: Some HOAs impose stricter R-value requirements than Title 24 because of noise concerns or building-wide energy goals.
- Opener type and noise level: In dense Downtown buildings, a belt-drive opener from LiftMaster might be required over a chain-drive because of sound transmission through shared walls.
The sequence matters: get HOA approval first, then file the city permit, then schedule the install. Going the other direction risks installing a door the HOA rejects, which means pulling a still-serviceable door and starting over. That’s an expensive lesson, and it’s one we’ve watched too many Downtown San Diego owners learn the hard way.
HOA approval timelines vary, but most Downtown buildings process architectural requests within 14 to 30 days. Some larger communities meet monthly, which can stretch the timeline. Plan accordingly if you’re buying a door.
What Happens When Unpermitted Work Is Discovered
The most common discovery point is the property sale. Title companies in California pull permit history as part of the escrow process, and buyers’ inspectors look for evidence of recent work that doesn’t match the city’s records. A new-looking garage door with no matching permit is a red flag.
Here’s what happens when unpermitted garage door work surfaces during a sale:
- The buyer requests disclosure: The seller must disclose unpermitted work or risk a post-sale claim. Most sellers don’t know they needed a permit until this moment.
- The lender may stall underwriting: For financed purchases, the lender’s appraisal often notes unpermitted improvements. Some lenders require permit resolution before closing.
- The retroactive permit process begins: The seller files for an “as-built” permit. The city inspects the existing installation against current code. If the door doesn’t meet current standards, it must be brought into compliance.
- Remediation costs appear: Bringing a non-compliant door into compliance can mean replacing the door, adding insulation, or correcting structural attachments. In Downtown San Diego, where attached garages and Title 24 apply, this often runs $800 to $2,500 beyond the original door cost.
- The sale timeline shifts: Retroactive permits take weeks, sometimes longer if plan review is required. That delay can kill a deal that’s already fragile.
The realistic total cost of discovering unpermitted work at point of sale is not just the door. It’s the door, the permit fees, the inspection, the possible compliance upgrades, and the delay. In a Downtown San Diego market where transactions move fast, a two-week escrow extension can cost a seller negotiation leverage far beyond the permit fees.
The prevention is simple: if you’re replacing the whole door, pull the permit at the start. It costs less than the remediation and it keeps the property’s paper trail clean.
What a Permit Costs and How Long It Takes
San Diego’s Development Services Department charges fees based on the valuation of the permitted work. For a typical residential garage door replacement, the permit fee lands somewhere in the $150 to $400 range, but the specific number depends on the project valuation and any plan review requirements. Multi-family or structural modifications push the fee higher because they involve engineering review.
Timeline expectations for a standard single-family garage door permit in San Diego:
- Online permit application: Same-day submission. Many simple door replacements can be filed through the city’s online portal.
- Over-the-counter review: For straightforward residential door replacements, review is often completed in 1 to 5 business days.
- Plan review (if required): Structural changes or multi-family work may require plan review, which adds 2 to 4 weeks.
- Inspection scheduling: Once the door is installed, inspections are typically scheduled within 3 to 7 business days in San Diego.
- Re-inspection (if needed): If the first inspection fails, the re-inspection is usually scheduled within another 3 to 5 business days.
The entire process, from application to final inspection, for a straight forward single-family door replacement usually takes 2 to 4 weeks. The install itself takes one day. That timeline gap is why experienced contractors file the permit before the door is ordered, so the approval is ready when the door arrives.
For more detail on what a full installation involves, including timelines and the process from measure to final inspection, see our Garage Door Installation in Downtown San Diego guide.
Common Mistakes to Avoid
- Assuming “like-for-like” means no permit. Replacing a whole door with a visually identical one changes the building envelope’s documented energy and wind characteristics. Like-for-like applies to repairs, not full replacements.
- Filing the permit after the install. The city allows retroactive permits, but the inspector holds the installation to current code without giving you credit for the existing condition. If the installed door doesn’t meet current standards, it comes down.
- Skipping HOA review because the city approved it. The city doesn’t care about your building’s color palette. Your HOA does, and it has the legal authority to demand changes.
- Buying a non-insulated door for an attached garage. Title 24 applies to attached garages in Downtown San Diego. A non-insulated door in that application fails inspection, and the fix is a new door.
- Not keeping the door’s energy documentation. The inspector needs the R-value and U-factor documentation on site. If it’s not there, the inspection fails until the paperwork appears.
- Using an unlicensed installer for a permitted job. The permit names a contractor of record. If that person isn’t licensed, the permit is invalid and the work is effectively unpermitted.
- Assuming the permit covers the opener’s electrical work. A door permit doesn’t automatically include electrical permit coverage. If new wiring is involved, that’s a separate permit or a separate scope line in the same application.
See the difference
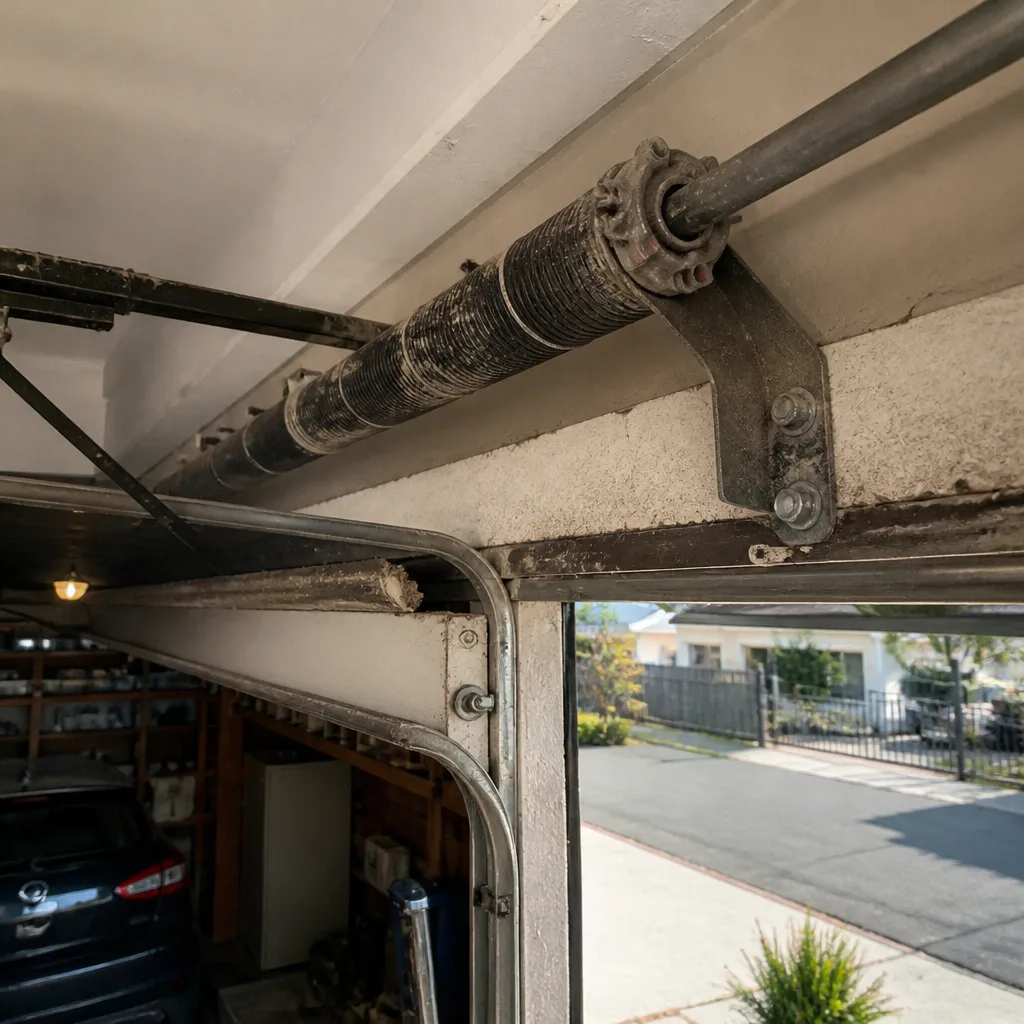 Before
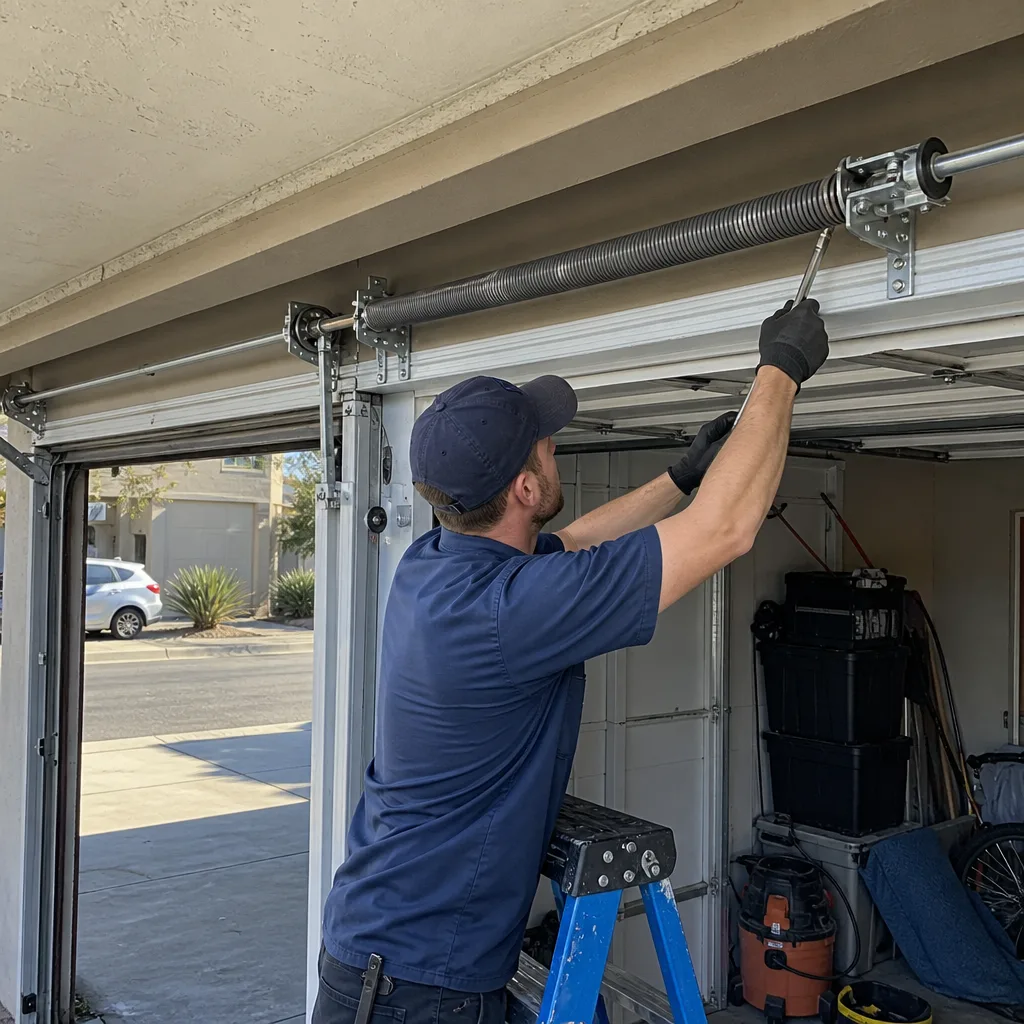 After
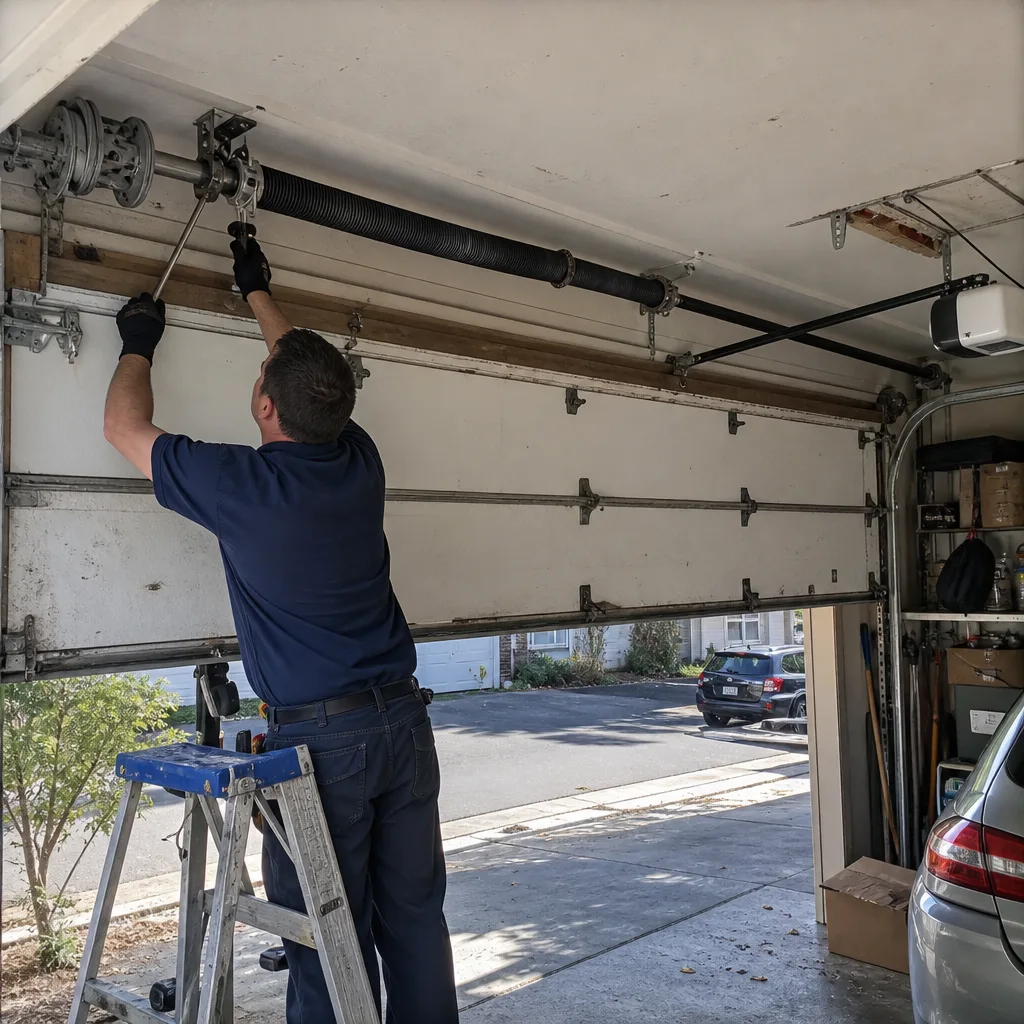 Before
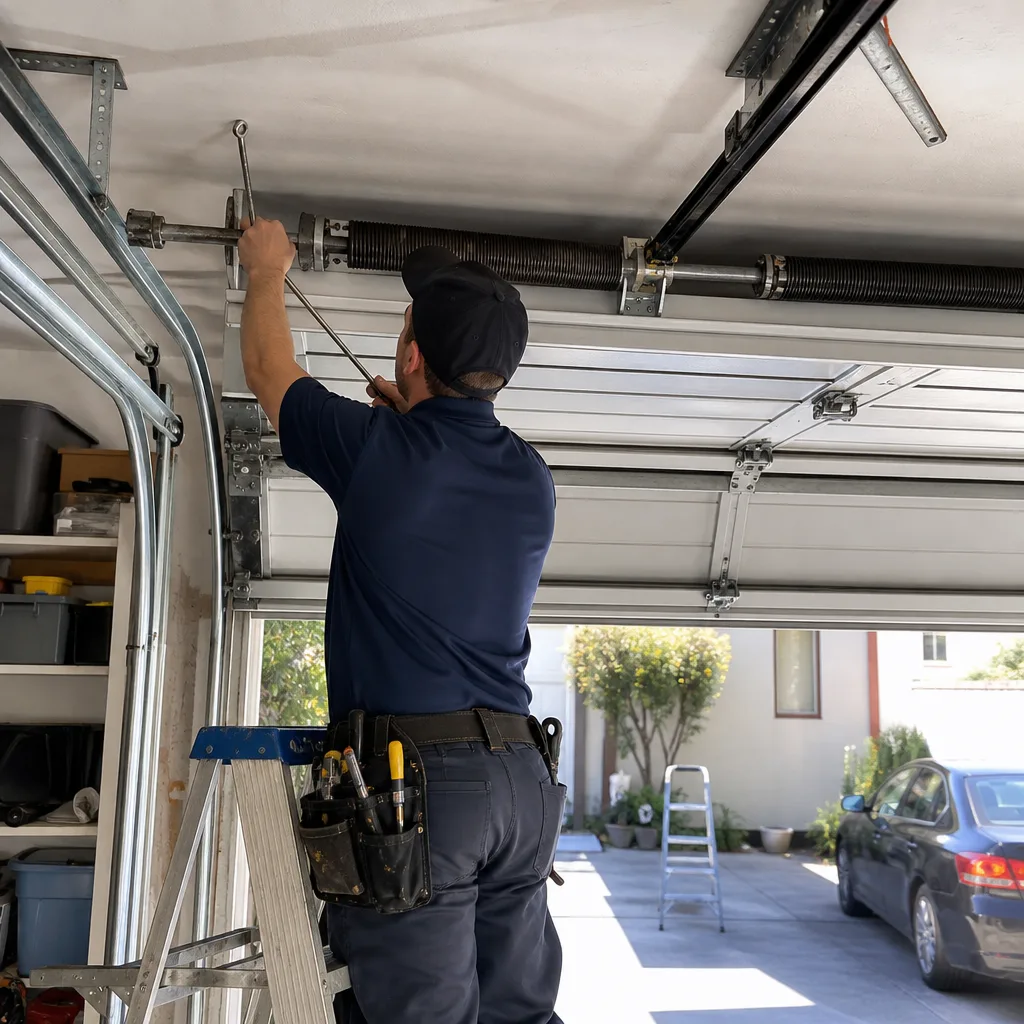 After
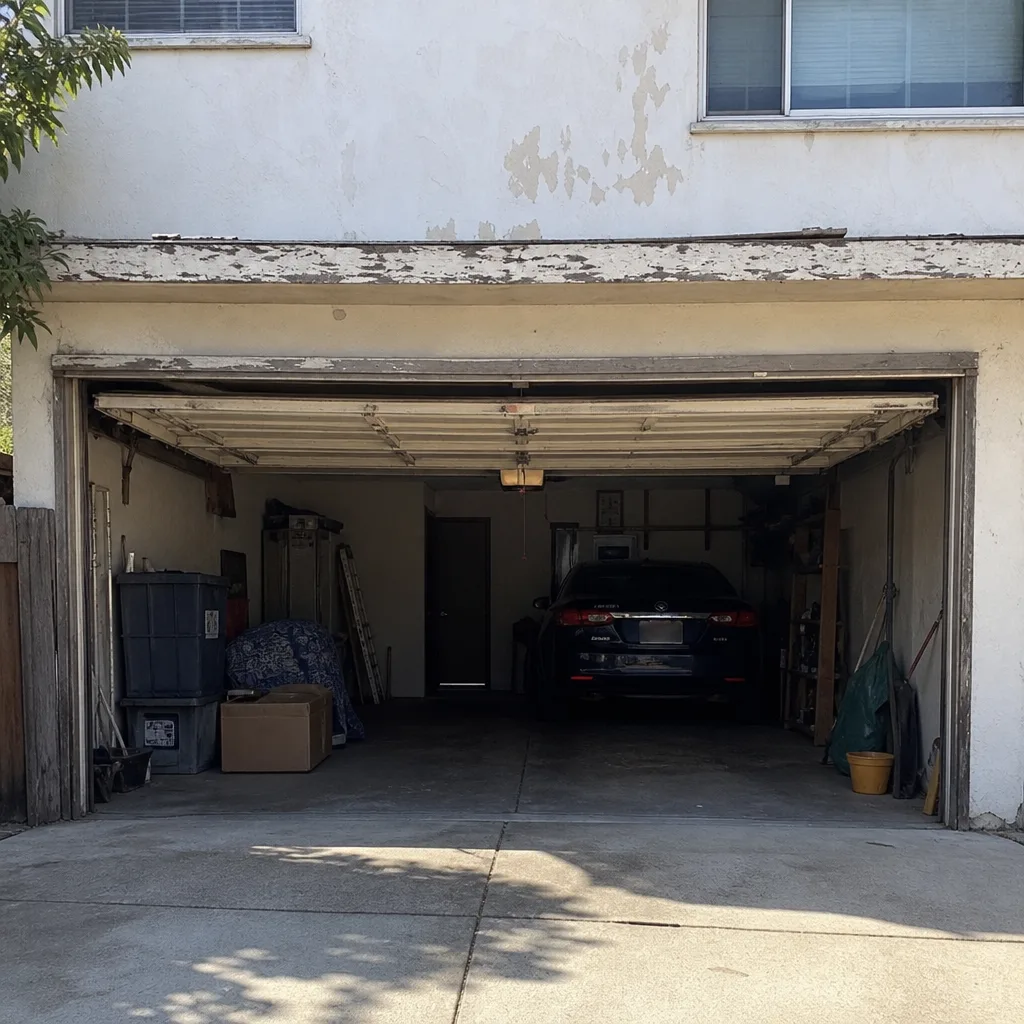 Before
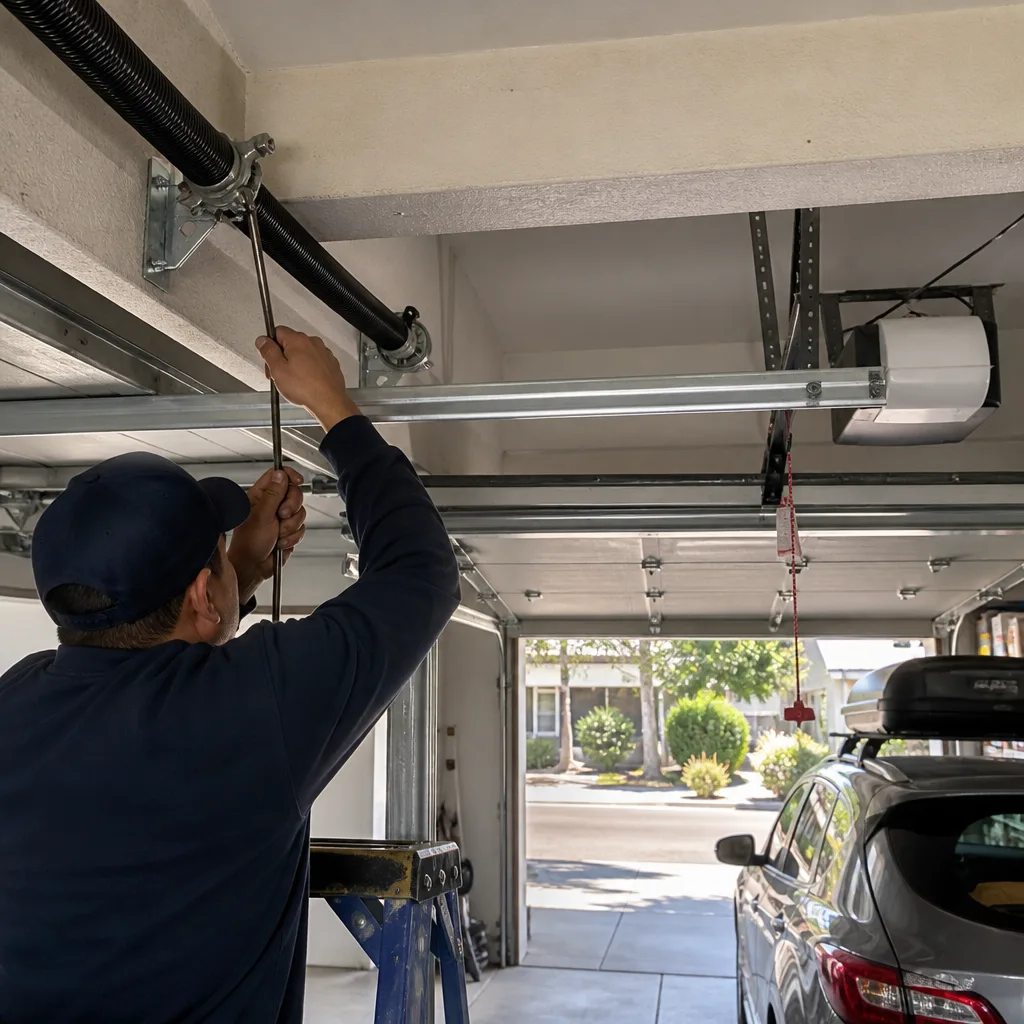 After
When to Call a Professional
If your garage door replacement involves an attached garage, a multi-family building, structural changes to the opening, or an HOA with architectural review, you’re better off with a contractor who has navigated the San Diego permit process before. The paperwork isn’t complicated, but the consequences of missing a step are expensive, and the code details are where homeowners get tripped up. A professional handles the permit filing, schedules the inspection, and stands behind the work when the inspector walks the checklist. Willow Garage Door Repair offers free estimates in Downtown San Diego – call (866) 321-6057 to get answers about your specific door and situation before you buy anything.
Frequently Asked Questions
Yes, most full garage door replacements in San Diego require a building permit through the Development Services Department. Repairs like spring or opener replacement are exempt, but swapping the entire door assembly triggers permit requirements because the new door must meet current wind load, fire separation, and Title 24 energy standards. Call (866) 321-6057 for help determining whether your specific project needs a permit.
Replacing an existing opener with a like-for-like unit in the same location generally does not require a permit in San Diego. Installing a new opener where one didn’t previously exist, or adding new electrical wiring, may require an electrical permit. Most homeowners replacing a worn-out LiftMaster or Craftsman unit with a new motor of the same type are exempt.
Unpermitted work typically surfaces during escrow when the title company pulls permit history and the buyer’s inspector notes a door that looks newer than the records. The seller must then file a retroactive permit, pass an inspection, and often bring the door into compliance with current code, at a cost that typically runs $800 to $2,500 beyond the original installation.
For a standard residential garage door replacement, the permit fee generally falls between $150 and $400, depending on the project valuation. Structural modifications or multi-family work push the fee higher because they require plan review. The exact amount is calculated when you file through the Development Services Department.
Title 24 applies when your garage shares a wall or ceiling with conditioned living space, which is common in Downtown San Diego loft conversions and attached townhomes. The door must meet minimum insulation values, usually R-6.5 or higher, and the glass in any windows must meet fenestration requirements. Non-insulated doors fail inspection in these applications.
Yes. HOA architectural review is a separate process from city permitting. Your HOA can reject a city-approved door based on color, panel style, window pattern, or noise level requirements. Get HOA approval before filing the city permit to avoid installing a door the association later demands you change.
The Bottom Line
Garage door permits in California are triggered by full replacements and structural changes, not by repairs. In San Diego, the permit goes through the Development Services Department, the inspection verifies wind load, fire separation, and Title 24 compliance, and the HOA process runs parallel to the city process. Skip any step and you’re looking at retroactive permit fees, possible door replacement, and a sale delay when the omission comes to light. Do the paperwork right the first time, keep the energy documentation, and the inspection is usually a formality. When in doubt, ask before you buy – a five-minute permit check beats a two-week escrow stall. For more guides & resources, explore our blog.
Written by the team at Willow Garage Door Repair, serving Downtown San Diego since 2013.