
Last updated November 2, 2026
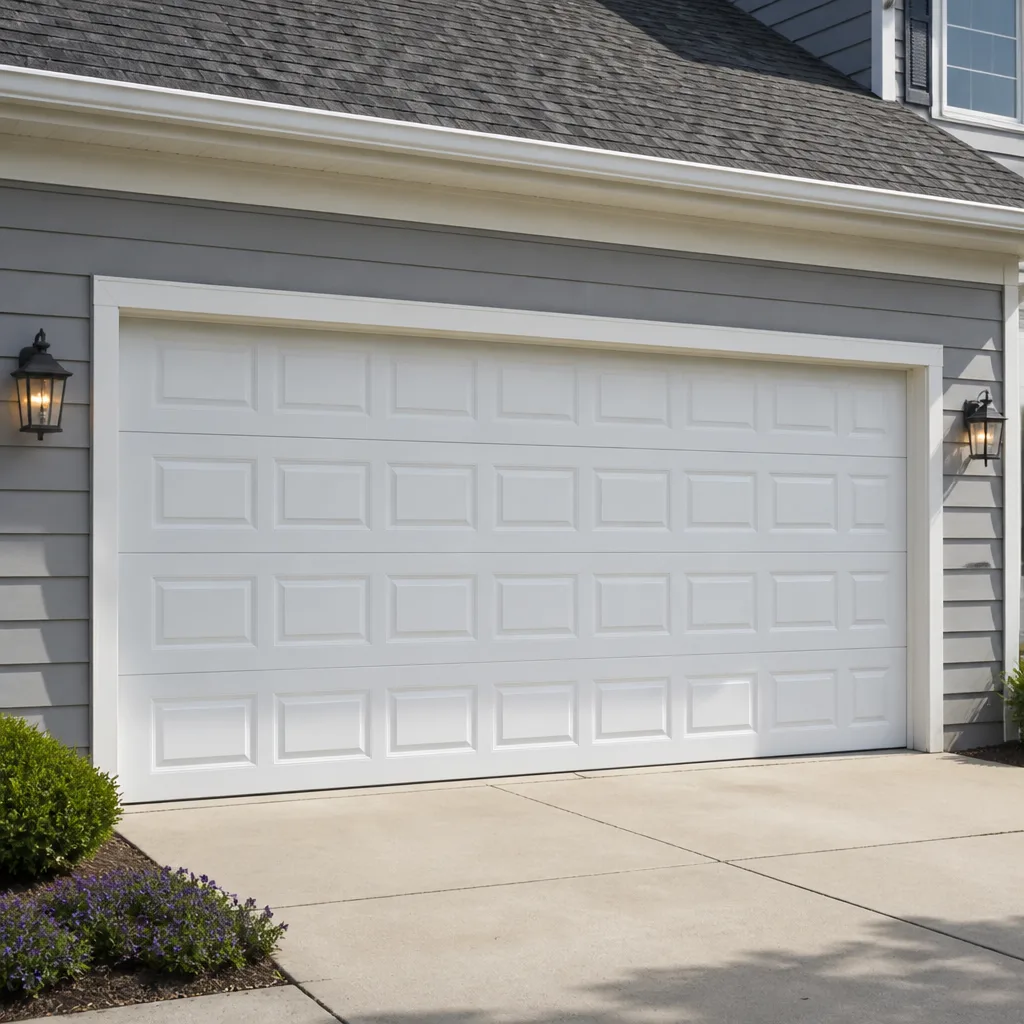 Raised-panel steel
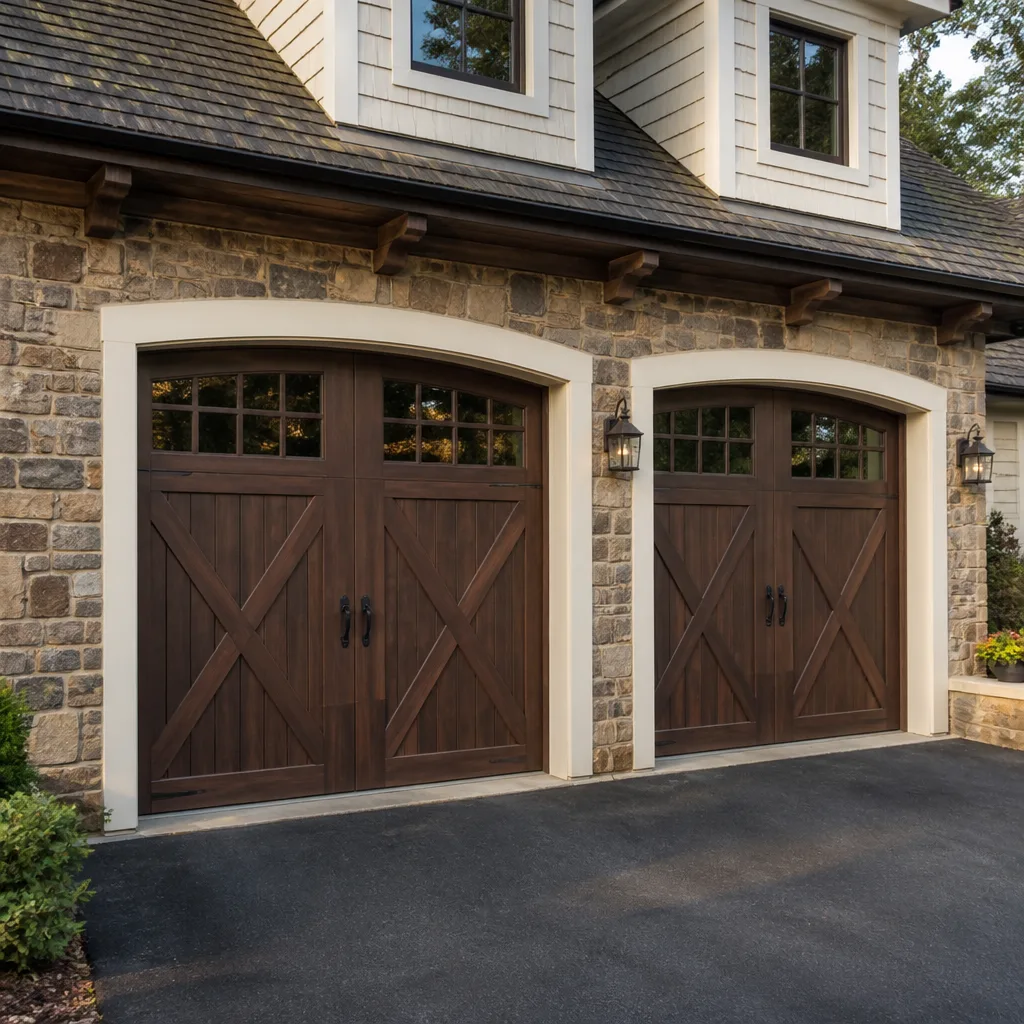 Carriage house
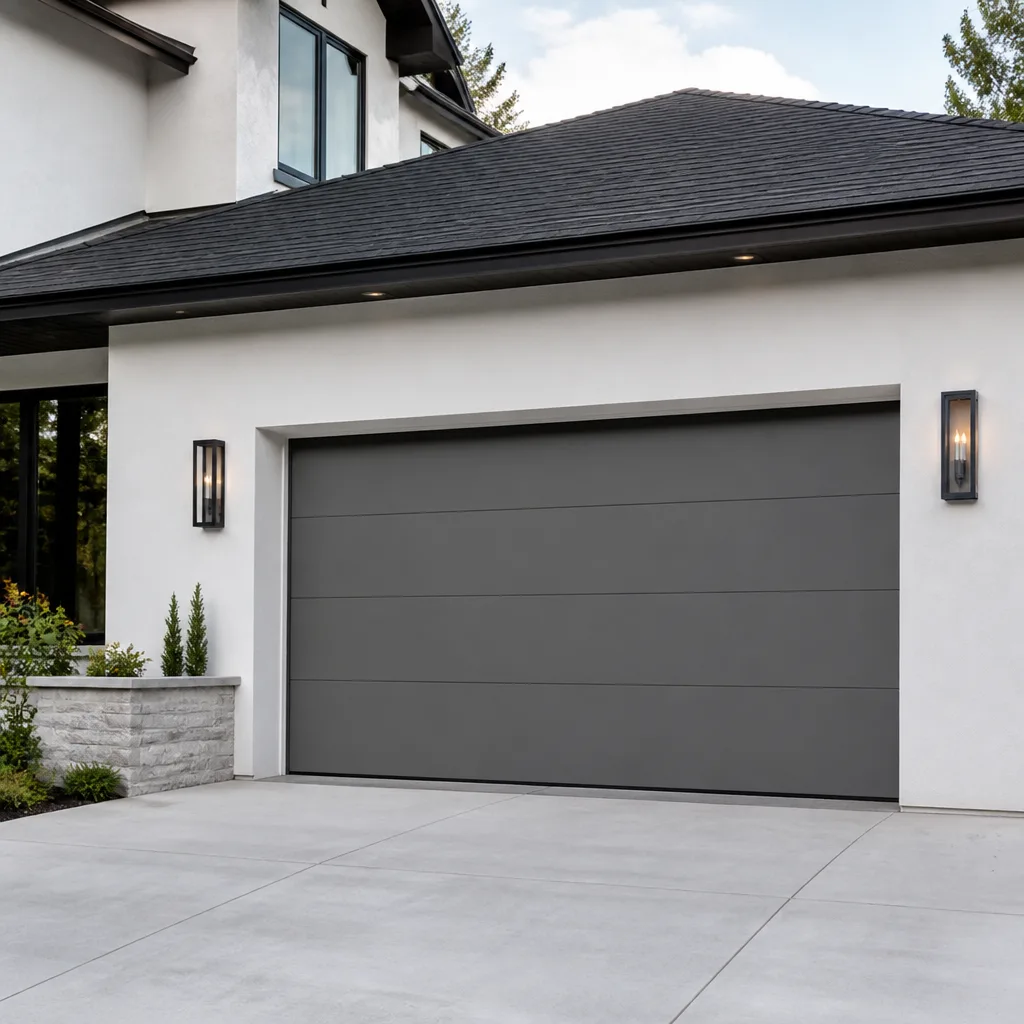 Modern flush
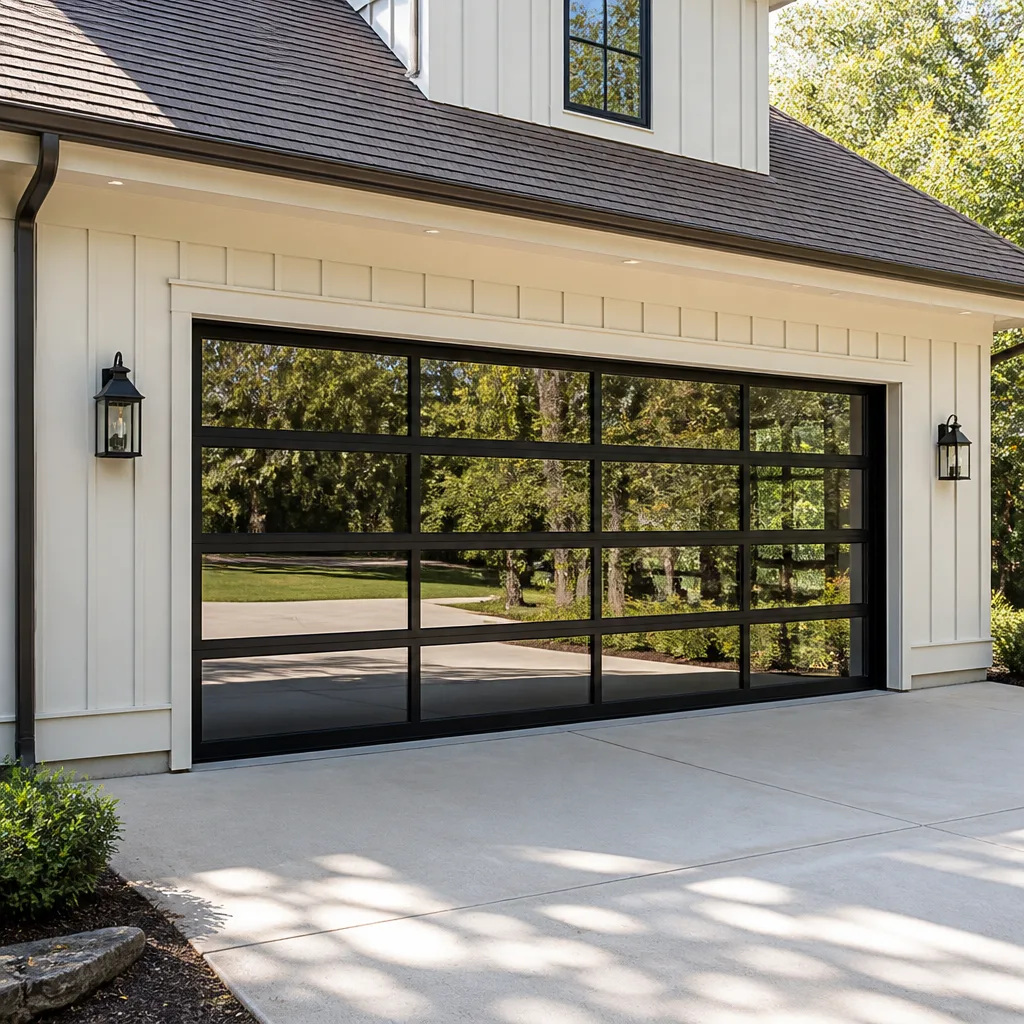 Full-view glass
 LiftMaster openers
 Chamberlain openers
Full 25-point door and opener safety check with every visit - springs, cables, rollers, tracks, and your LiftMaster or Chamberlain opener included
You get a price before we start. It does not change when the truck arrives.
Get your free estimateGarage Door Repair Troubleshooting: Common Problems and How to Fix Them
A garage door that reverses before hitting the floor is not a “sensor problem.” It’s a symptom that could point to five different systems. Replacing the photo eyes when the real culprit is a bent track wastes money and leaves the actual fault in place. Most troubleshooting guides fail because they treat symptoms as problems. This guide teaches the diagnostic logic a technician actually uses: symptom to system to source. If you live in Downtown San Diego, where salt air accelerates hardware wear and older homes carry a mix of door brands and opener generations, knowing how to read your door before reaching for a wrench saves hours of frustration. For professional help, see our Garage Door Repair services.
Quick Answer
Garage door troubleshooting starts with the right diagnostic sequence: identify the symptom (sound, movement, or failure mode), trace it to the system (springs, tracks, opener, sensors, or door panels), then address the mechanical root, not the surface symptom. Most common problems – a door that won’t close, moves slowly, or runs loudly – are correctly diagnosed in under ten minutes with the symptom-first method below. If the issue involves torsion springs, cables, or opener gear assemblies, stop and call a trained technician, because those components carry enough stored energy to cause severe injury. Call Willow Garage Door Repair home at (866) 321-6057 for a free estimate on anything you’re not certain about.
Styles & brands we work with
- Raised-panel steel
- Carriage house
- Modern flush
- Full-view glass
- LiftMaster openers
- Chamberlain openers
Table of Contents
- The Symptom-First Diagnostic Method
- Door Won’t Close: The Five-System Check
- Door Won’t Open: Opener Logic vs. Mechanical Resistance
- Door Reverses Before Hitting the Floor
- The Most Misdiagnosed Problem: A Door That Moves Slowly
- How to Read Error Code Blinks on LiftMaster, Chamberlain, Genie, and Craftsman
- Diagnosing by Sound: What Your Door Is Telling You
- When a “Quick Fix” Is Actually a Structural Failure
The Symptom-First Diagnostic Method
Technicians don’t start by checking parts randomly. We start by observing how the door behaves, then work backward. Every garage door problem falls into one of three symptom categories: sound (grinding, popping, scraping), movement (slow, jerky, uneven, partial), or failure mode (won’t open, won’t close, reverses, stalls). Each symptom points to a specific system. This is the framework we use on service calls throughout Downtown San Diego, from Gaslamp houses with 1960s carriage doors to Cortez Hill condos with modern belt-drive openers. For Garage Door Warning Signs: A Downtown San Diego Homeowner’s Reference Guide, see our dedicated resource.
Here’s the diagnostic tree we work through:
- Observe the symptom without touching anything. Watch a full open-and-close cycle. Note where the door hesitates, catches, or makes noise. Stand to the side, never directly under the door.
- Classify the symptom. Is it a sound, a movement irregularity, or a complete failure? Sounds point to mechanical wear. Movement problems point to alignment, spring tension, or opener force. Failures point to logic boards, safety inputs, or a tripped system.
- Trace the symptom to a system. A scraping sound during the last six inches of travel points to track misalignment. A door that strains to lift but moves smoothly downward points to spring tension loss, not an opener problem.
- Identify the source within the system. Within the track system, the source could be a loose bracket, a bent vertical track, or a roller with a flat spot. Only now do you have a specific repair target.
- Determine safety level. Springs, cables, and anything bolted to the bottom bracket carry lethal tension. If your trace leads there, the diagnosis is complete but the repair is not a DIY project.
This sequence works on old wooden doors in Bankers Hill and brand-new Raynor insulated steel slabs in Mission Hills. What changes is the hardware, not the logic. In our experience, roughly a third of the service calls we run in Downtown San Diego involve a homeowner who replaced a part that wasn’t actually broken because they skipped the symptom-to-system step. The part they needed was still attached to the door.
Door Won’t Close: The Five-System Check
A door that refuses to close is the most common call we field in Downtown San Diego. The opener is almost never the first thing to suspect. Here’s the five-system check, in the order a technician follows:
- Photo-eye alignment and obstruction. The two small sensors on either side of the door track, about six inches off the ground, must face each other along a clean line of sight. If one gets bumped by a trash can, a bike, or salt-corroded bracket, the opener refuses to close. Check that both small lights are glowing steadily. One blinking light means misalignment; one dark light means no power or a failed sensor.
- Limit settings. The opener’s down-limit tells the motor how far the door travels before it stops and seals. If the door closes partway and reverses, the limit may be set too far down, making the opener think it hit an obstruction when it actually hit the floor. This is a simple adjustment on most LiftMaster, Chamberlain, and Genie openers, but it must be done in small increments or the door will slam or fail to seal.
- Track obstruction or misalignment. Run your hand along the vertical tracks where the rollers travel. Look for dents, gaps at the mounting brackets, or a section that has pulled away from the jamb. Downtown San Diego garages are tight, and a car bumper or a shelving unit nudged into the track deforms it enough to stall the door.
- Spring tension failure. If the opener strains to lift the door but the door drops when it reverses, your torsion or extension springs have lost tension. On an extension spring system, you can see the gap on the coils. On a torsion system, you can’t see the fault safely. This is a professional repair point in every case.
- Opener force settings. The opener has upward and downward force adjustments that tell it how much resistance is normal. If the down-force is set too low, the opener interprets a smooth-running door as heavy and backs off. Adjusting this without fixing the underlying resistance masks problems until something breaks.
Before any of this, of course, confirm the opener is getting power and the wall button isn’t the issue. But the five-system check solves the vast majority of “won’t close” complaints in Downtown San Diego garages. If you need a technician who runs the exact same sequence, call (866) 321-6057 for a free estimate on Garage Door Repair in Downtown San Diego.
Door Won’t Open: Opener Logic vs. Mechanical Resistance
A door that won’t open is either a brain problem or a muscle problem. The brain is the opener’s logic board and safety inputs. The muscle is the hardware: springs, cables, rollers, and the door panel itself. Telling them apart takes about two minutes.
First, pull the emergency release cord. This red-handled rope hanging from the trolley disconnects the door from the opener carriage. Now try to open the door manually. If the door rises smoothly and stays up on its own, the hardware is fine and the problem is in the opener. If the door is heavy, won’t stay up, or feels like it’s grinding, you have a mechanical problem that the opener has been fighting.
When the opener is the culprit, the usual suspects are:
- A stripped drive gear. Common on older Craftsman and chain-drive LiftMaster units. The plastic gear inside the motor housing wears down over years of use. The motor runs, the chain doesn’t move, and the door stays put. The giveaway is a buzz with no action.
- A failed capacitor. The capacitor stores the jolt of power that starts the motor. When it fails, the opener hums but can’t start. This is a board-level repair that most homeowners mistake for a dead motor.
- A dead logic board. This is the control circuit that translates button presses and remote signals into motor action. We see more logic board failures in Downtown San Diego than in inland areas because the salt air corrodes solder joints and connections over time.
- Photo-eye misalignment or obstruction. The classic. If the door stops and reverses within the first few inches of downward travel, this is your most likely culprit. Clean the eyes, realign them so both lights are solid, and try again.
- Down-force limit set too low. As the door approaches the floor, it rolls through the curved track section and encounters slightly more resistance. If the down-force is calibrated too low, the opener interprets that normal resistance as an obstruction and reverses. The door usually reverses late in the cycle, within the last foot or two.
- Down-limit set too far. If the limit tells the opener to push the door below the actual floor level, the door hits concrete and the opener, thinking it struck an object, reverses. This happens when a new door is installed or an old one settles.
- Track or roller damage near the bottom. A flat spot on a roller, a section of track pinched by a car bumper, or accumulated debris in the bottom track section creates resistance at the same point every cycle. The door reverses at exactly the same spot each time. That consistency is your diagnostic clue.
- Logic board failure. The board reads inputs from the force sensors and photo eyes. When it starts failing, it misreads normal operation as obstruction. This one is rare but real, and it’s the least likely thing a homeowner will find on their own because the symptoms mimic everything else.
- Pull the emergency release and move the door manually. A balanced door rises with one hand, floats around mid-travel, and settles gently. If the door feels heavy or takes real effort, the springs have lost tension. The fix is a spring adjustment or replacement – a professional job in every case.
- Listen for grinding during manual operation. A door that moves slowly and sounds like it’s dragging through sand needs lubrication. The rollers, hinges, and spring coils dry out over time. In the salty air of Downtown San Diego, this happens faster than inland. A silicone-based garage-door lubricant applied to rollers, hinges, springs, and bearing plates often restores normal speed. Do not use WD-40; it’s a solvent, not a lubricant, and it strips the existing coating.
- Check the rollers. Nylon rollers wear out after seven to ten years. When they lose their shape, they drag instead of rolling. Steel roller bearings in older San Diego garage doors, especially original hardware from the 1970s and 1980s, seize up and slide. Replacing worn rollers restores speed instantly.
- Only now consider the opener. If the door is balanced, lubricated, and rolling smoothly but still moves slowly, then the opener’s motor capacitor or drive gear may be failing. This is the last step, not the first.
- 1 blink: The opener ran the full open or close cycle without the door traveling. This usually means a snapped spring, a broken cable, or the emergency release has been pulled. Check the release handle before suspecting the spring.
- 2 blinks: Safety sensor wire shorted, reversed, or open. Inspect the low-voltage wire run from the sensors to the motor unit. Look for staples that pinched the wire, salt corrosion in the splice, or a drywall nail through the jacket.
- 4 blinks: The photo eyes are misaligned, blocked, or not receiving power. Both sensor lights should be solid. If one is dark, trace the two-wire connection back to the opener.
- 5 blinks: Motor overheated. The thermal protection tripped. Let it cool for 20 minutes and retry. If it trips repeatedly, the motor is drawing excessive current from a mechanical bind somewhere in the system.
- 6 blinks: Motor circuit failure. This is a logic board or motor failure and the opener needs service. This is where Garage Door Opener Repair in Downtown San Diego becomes the answer.
- 1 blink: No response from the motor. Check power, thermal reset.
- 2 blinks: Motor overheating. Same thermal issue as LiftMaster’s five-blink code.
- 3 blinks: A speed sensor failure. The opener can’t tell the rpm of the motor, which means it can’t regulate force. This is a board-level problem.
- 4 blinks: A limit switch failure. The opener can’t detect the door’s travel limits, so it refuses to run. This is also a board or switch replacement.
- Rapid blinking with the light flashing: Safety reversal engaged. Check photo eyes, force settings, and travel limits in that order.
- One blink every two seconds: The opener has exceeded its runtime limit. Something bound the door mid-cycle. Inspect the track.
- Popping from the springs. On torsion springs, a rhythmic pop during operation means one of the coils is binding against the spring anchor bracket. On extension springs, a pop means the spring clips across itself during stretch and release. Both mean the spring is failing and should be replaced before it snaps. This is not a lubricate-and-ignore situation.
- Grinding or squealing from the opener motor. A gear inside the opener is stripping. The noise comes from the motor housing, not the door itself. On chain-drive units the gear is plastic and designed to be a sacrificial wear point. Ignore it long enough and the opener will run without moving the door.
- Scraping along the track. A roller is worn, a track is bent, or the door is out of square. The scrape is consistent and localized, and you can feel it by placing a hand on the track (not on the door) while the door moves. In Downtown San Diego garages, this often traces to a car bumper that moved the track a quarter-inch out of line.
- Rattling from the panels. Loose hinge bolts, worn roller stems, or panel fasteners that have worked free. Tightening the hinges fixes the rattle. Replacing the rollers fixes the real problem. Rattling is the most common sound in older San Diego housing stock where original hardware has been through decades of coastal air.
- A sharp bang when the door starts to move. This is the door breaking free of a bind, usually a roller caught in a bent track section or a spring that’s hung up on the anchor. A bang means sudden stress release. Whatever caused it is getting worse every cycle.
- Tightening track brackets that have already pulled loose. The bracket pulled loose because the door is binding. If you force the bolt back in without addressing the bind, you’re pulling the lag screw through rotted or stripped wood until it fails completely. The wall needs new backing or the track needs realignment.
- Oiling a spring that pops. Lubrication reduces surface friction. A popping spring is a coil binding under load. Lubricant buys you a few quieter cycles before the spring snaps. In a Downtown San Diego garage where torsion springs carry 150 to 400 pounds of tension each, a snap is violent and dangerous.
- Bending a track section back with pliers. A bent track isn’t just a geometry problem – it’s a stress riser. Bent metal fatigues. The next time the door binds on it, the track can split apart at the bend point. A damaged track section needs replacement, not reshaping.
- Adjusting the opener force higher to power through a bind. The force setting is a safety parameter. Crank it up to overcome a binding door and you’ve also cranked up the force the door hits anything underneath it before the safety reverse engages. The bind is the problem. The force dial was never the solution.
- Shortening a frayed cable instead of replacing it. A frayed cable has already failed. Splitting the strands apart, trimming the loose wires back, and re-using the cable is a temporary disguise. When that cable snaps under tension, the door drops unevenly, and the bottom panel can take all the impact. Cables are cheap. The repair is not.
When the hardware is the culprit, the likely sources are broken springs, a snapped cable, a roller that has jumped the track, or a door panel that has warped. None of these are safe to eyeball from underneath. A snapped torsion spring releases with the sound of a gunshot and the door, suddenly dead weight, can slide down the track and pin whatever is beneath it. If your door won’t open and the emergency release tells you the hardware is heavy, call (866) 321-6057. This is not a scenario to troubleshoot from a ladder.
For opener-specific failures, our Garage Door Opener Repair in Downtown San Diego service covers logic board replacement, capacitor swaps, and drive gear rebuilds on every major brand, including LiftMaster, Chamberlain, Genie, and Craftsman.
Door Reverses Before Hitting the Floor
This is the symptom most likely to lead a homeowner down the wrong path. The assumption is always sensors. Sometimes it is sensors. But a door that reverses on the way down can be caused by at least five distinct issues, and only one of them involves the photo eyes. Learn How to Hire a Garage Door Contractor in Downtown San Diego: A Step-by-Step Guide if you need professional assistance.
The test that separates sensor problems from everything else: press and hold the wall button to close the door. On modern openers, holding the button down overrides the photo-eye safety input and forces the door to close. If the door closes fully while you hold the button, the sensors are the problem. If the door still reverses while you’re holding the button, you’re looking at something else entirely. Here’s the full list:
Downtown San Diego garages are tighter than suburban homes. That means less clearance on the sensor wings, more chances for a trash can lid or bike handlebar to deflect the photo-eye line, and more parked-car bumper strikes against the tracks. When you troubleshoot a reversing door in a city garage, the physical environment is as much a suspect as any component.
The Most Misdiagnosed Problem: A Door That Moves Slowly
When a garage door starts moving slowly, most people blame the opener. The opener’s motor, they assume, is wearing out. A new opener gets priced, sometimes purchased, and the door is still slow. This is the single most misdiagnosed garage door problem we see in Downtown San Diego. A door that moves slowly is usually not an opener problem at all. It’s a lubrication or spring tension problem.
Here’s the logic. The opener is designed to move a balanced door. If the springs are functioning, the door’s weight is neutralized and the opener’s motor only has to supply the push. When spring tension fades, the door gets heavier from the opener’s perspective. The motor strains, the belt or chain moves slower under load, and the entire cycle drags. You could replace the opener with a brand-new unit and it would still move slowly, because the new opener is lifting the same heavy, unbalanced door.
Before you touch the opener, do this sequence:
The takeaway: slow door, check balance first. The springs do the heavy lifting. The opener just steers.
How to Read Error Code Blinks on LiftMaster, Chamberlain, Genie, and Craftsman
When something trips the safety system or the opener can’t complete an operation, modern units communicate through blink codes on the motor unit. The logic varies by manufacturer, and the paper manual is long gone for most homeowners. Here’s what we read on the units we service most often in Downtown San Diego. This works without the manual.
LiftMaster and Chamberlain (including newer Craftsman units, which are made by Chamberlain):
Genie:
Craftsman (older units, pre-Chamberlain manufacturing):
The codes are the opener’s only way of telling you what’s wrong. Write down the blink pattern before you reset anything – once you unplug the unit, the code clears and the diagnostic evidence is gone. We’ve had Downtown San Diego customers reset their openers to clear the code and then call us unable to tell us what the opener had said. The code is the clue. Read it first.
Diagnosing by Sound: What Your Door Is Telling You
Your garage door speaks. The sounds it makes during operation are diagnostic data, and each one points somewhere specific. Here’s the sound library we work from when customers describe noises over the phone:
We use sound to narrow the diagnosis before we ever put a ladder up. A homeowner can do the same. The key is knowing which system produces which sound, and not treating a track noise with spring lubricant or a motor noise with track adjustments.
When a “Quick Fix” Is Actually a Structural Failure
Some repairs look simple and are not. The most dangerous example we encounter in Downtown San Diego is hardware tightening that masks a structural problem. A homeowner notices the door shaking or banging, grabs a socket wrench, tightens the track brackets and hinge bolts, and the noise goes away for about a week. Then the bracket tears out of the jamb, the track bows, and the door falls out of alignment. The tightening didn’t fix anything. It transferred the stress further into the structure.
Here are the quick fixes we tell homeowners to stop making:
Salt air accelerates all of this in Downtown San Diego, where door hardware rusts and fatigues faster than inland. The bolts seize, the springs pit, the cables corrode. A structure-level inspection should be part of any annual maintenance conversation. If you’re in a 1920s Craftsman bungalow in South Park or a 1980s condo garage in Little Italy, the hardware is aging whether or not you use the door daily. Corrosion happens while the door sits closed.
For replacement doors that actually fit the structure you have, see Garage Door Installation in Downtown San Diego.
Common Mistakes to Avoid
- Replacing the photo sensors without checking alignment first. Sensor failure is real but rare. Nine times out of ten, the sensor works and is simply out of line. The fix is a bracket adjustment, not a part purchase. In Downtown San Diego garages where clearance is tight, the sensor wing gets bumped constantly and drifts.
- Blame the opener for every problem. The opener is the most visible and least likely culprit. When the door is slow, loud, or binding, the mechanical hardware is usually the source. Test the door manually by pulling the release cord before spending money on opener parts.
- Ignoring a popping spring. A spring that pops during operation is sending a clear warning. It will snap eventually, and when it does, the release of stored energy is violent. Springs don’t heal. They fail.
- Lubricating with the wrong product. WD-40, axle grease, motor oil – these don’t belong on garage door hardware. They gum up the tracks, attract dust, and degrade nylon rollers. Use a silicone-based garage door lubricant, and only on the moving parts: rollers, hinges, spring coils, and bearing plates.
- Adjusting opener force settings to fix a symptom. Force settings exist to keep the door from crushing things. When a door binds and the fix is “more force,” the real resistance is still there, and the door now hits with more power on the other side of the bind.
- Working on a door without pulling the release cord first. If the opener activates while you’re working on the door, the door moves with motor power – enough force to trap fingers or worse. Always pull the emergency release and confirm the door is disconnected before doing any work.
- Writing off coastal corrosion. In Downtown San Diego, rust is a structural issue. Salt air eats springs, cables, rollers, and track hardware. A door that sits in a coastal garage for five years has more in common with a marine installation than an inland suburban door. Normal maintenance intervals don’t apply. Check your hardware more often.
See the difference
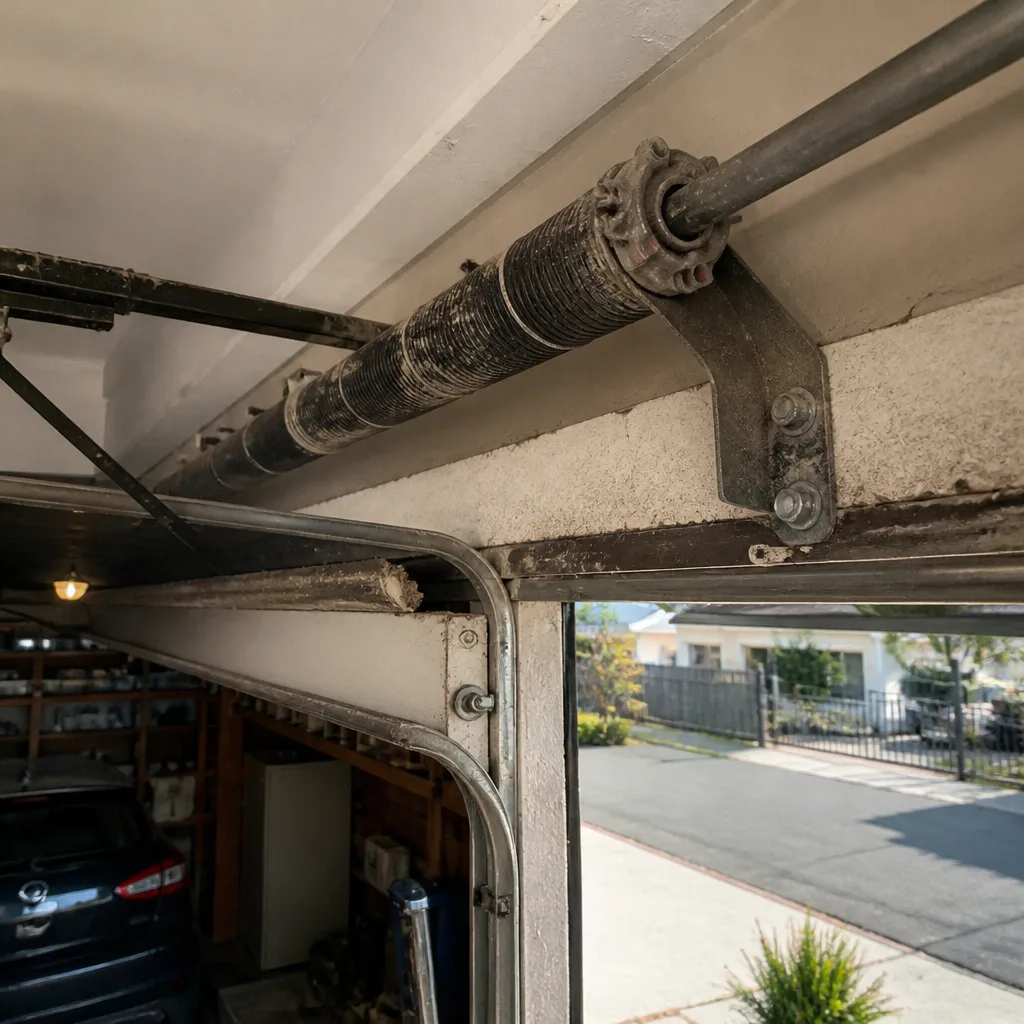 Before
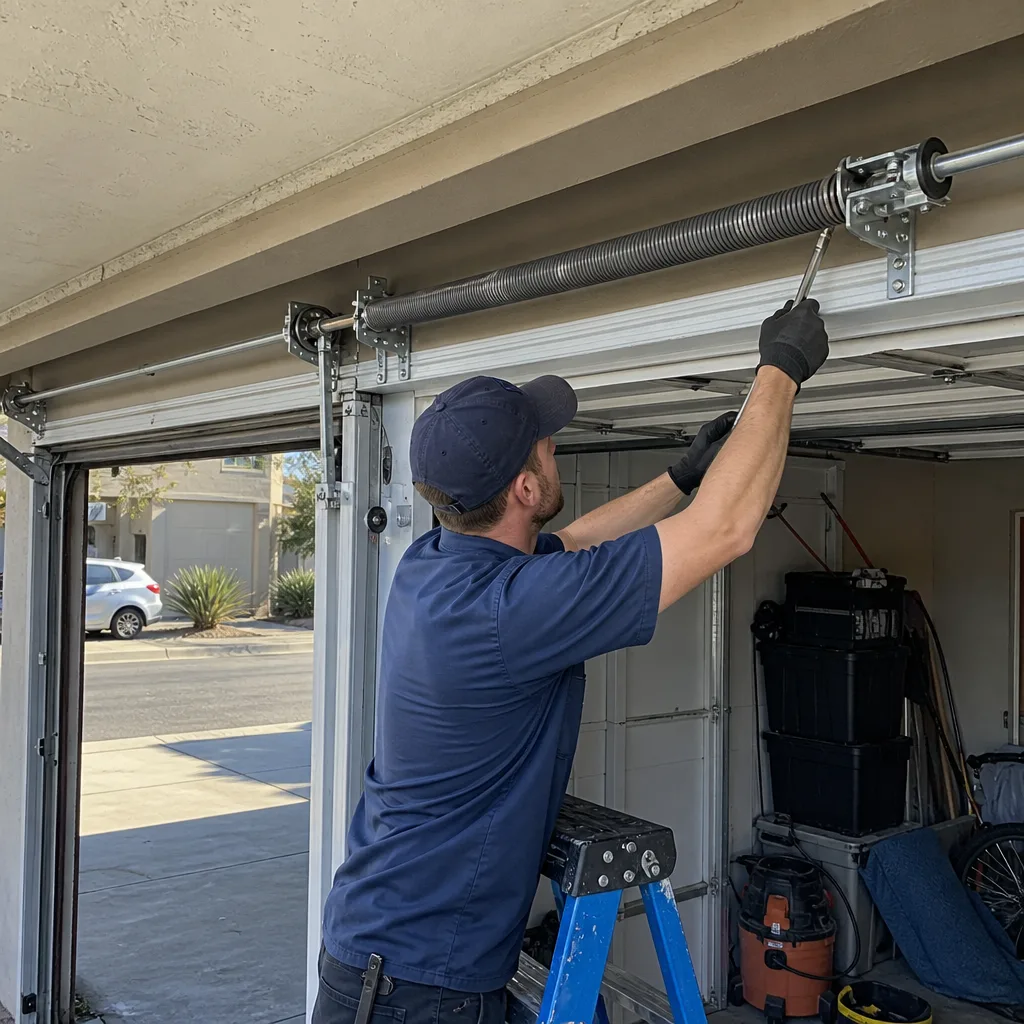 After
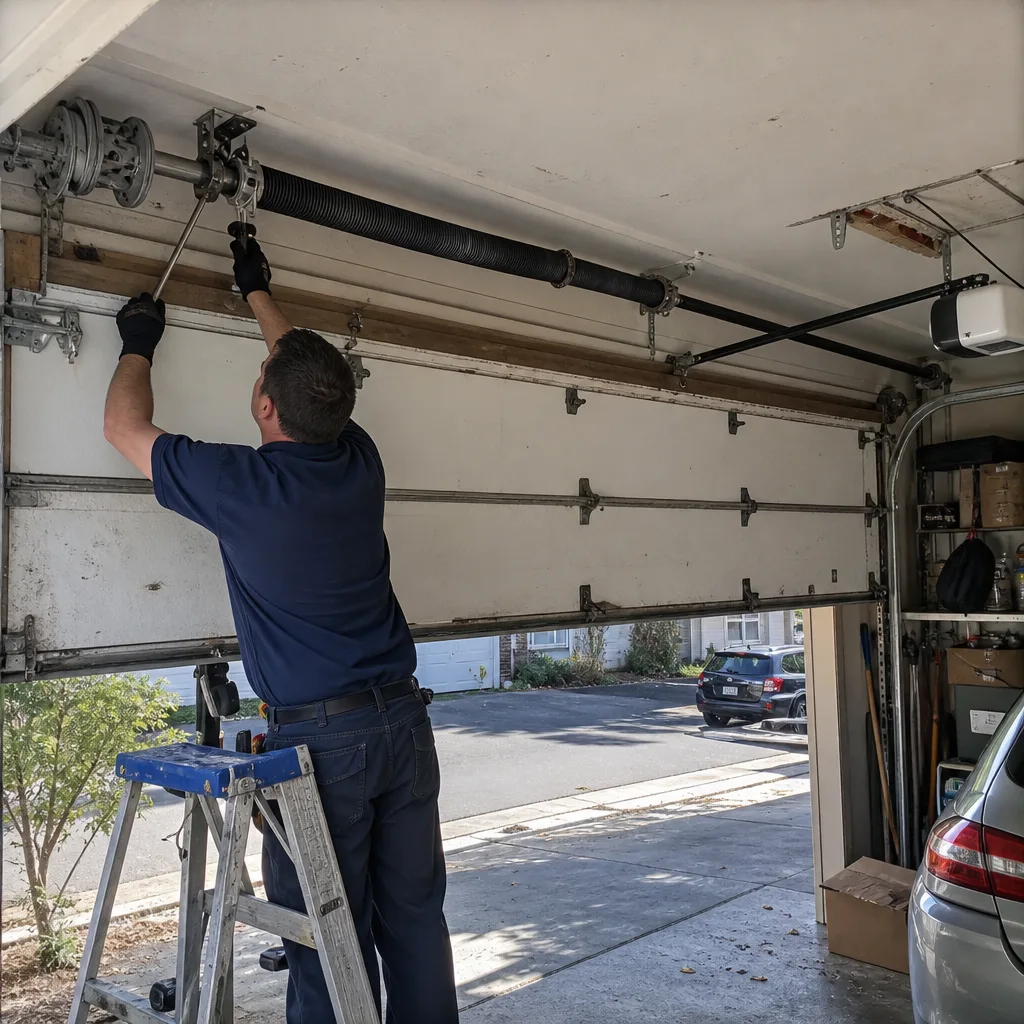 Before
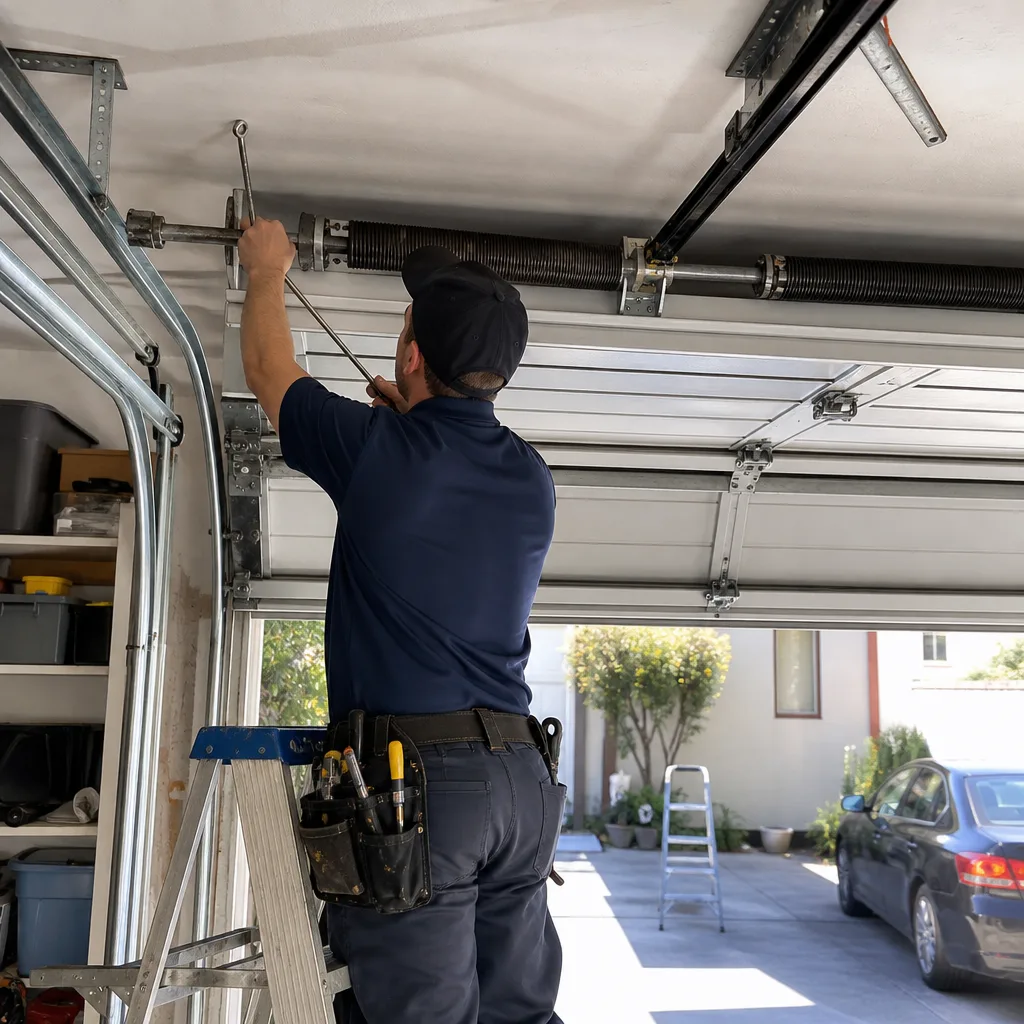 After
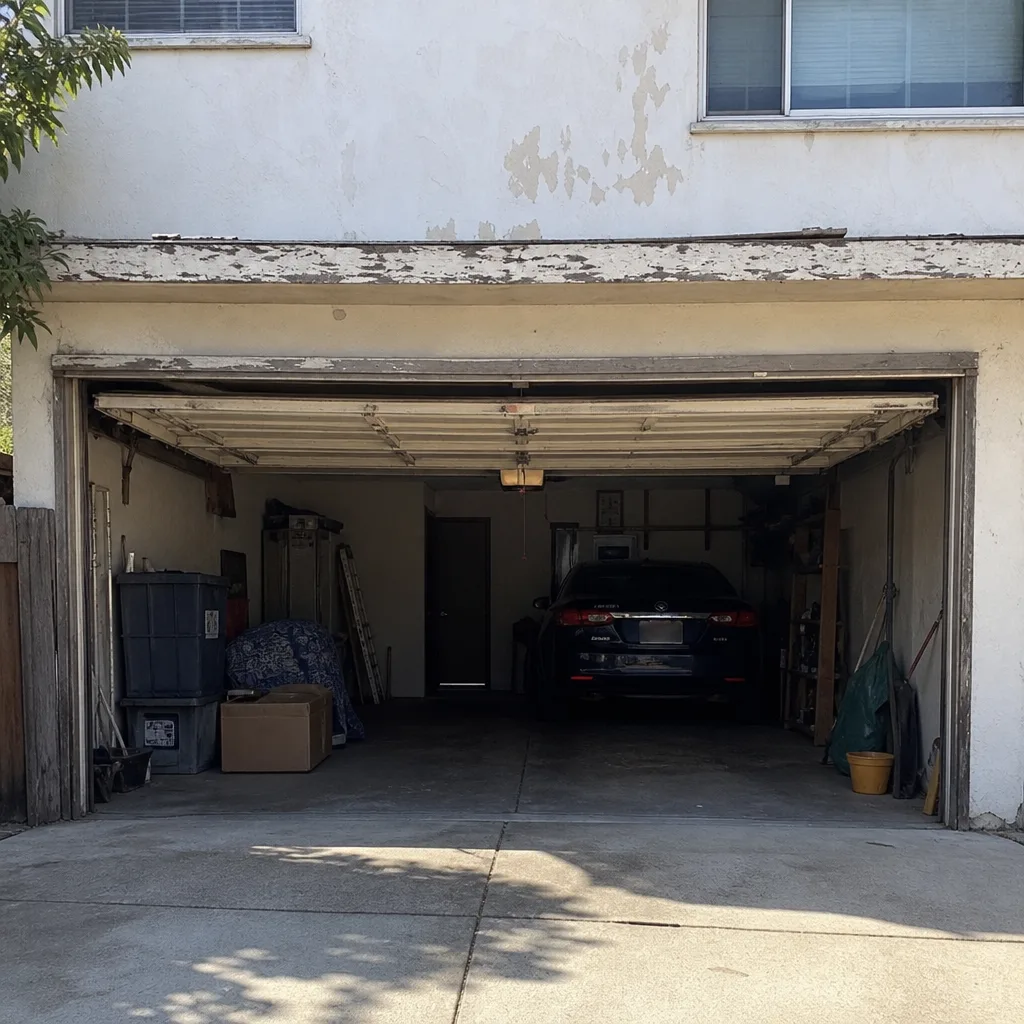 Before
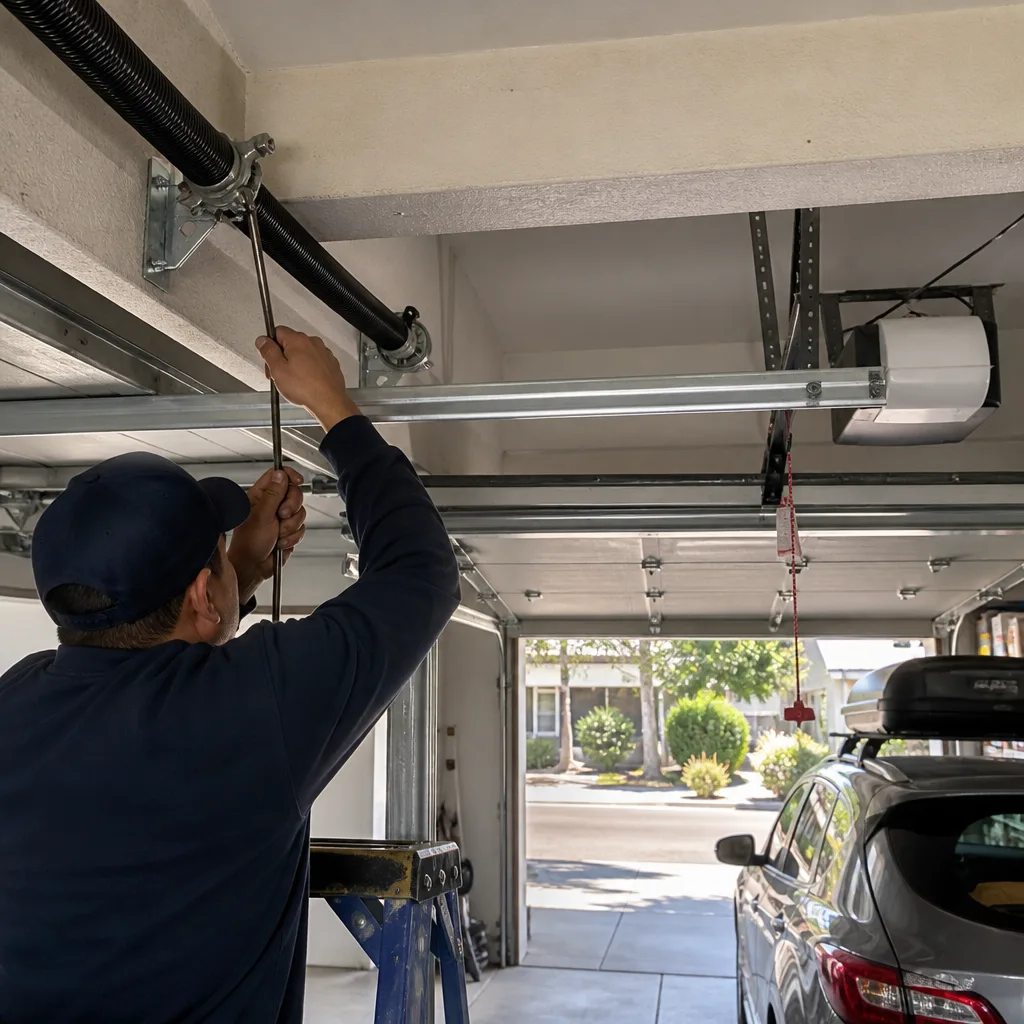 After
When to Call a Professional
Any repair that requires touching a torsion spring, a cable under tension, or the bottom bracket is a professional job. These components store enough energy to cause severe injury or death if they release while you’re working on them. The same goes for opener logic board replacement, drive gear rebuilds, and any track repair that requires the door to be removed from its rails. If the door is off its track, don’t try to lever it back on. If the cable has snapped, don’t try to guide it. If the spring is broken, don’t stand under it. Willow Garage Door Repair offers free estimates in Downtown San Diego – call (866) 321-6057 and we’ll diagnose the door, in person, before any work is done.
Frequently Asked Questions
A door that travels partway and stops is usually hitting an obstruction, a bind in the track, or a travel limit that’s set incorrectly. Pull the emergency release and run the door manually through the full range of travel. If it binds at the same spot, the problem is in the track or the springs. If it moves freely, the opener’s travel limits need recalibration. Call (866) 321-6057 for a free diagnostic if you can’t find the bind yourself.
Unplug the opener for 30 seconds and plug it back in. This clears the error code and resets the logic board. But read the blink pattern before you pull the plug – once you reset, the diagnostic clue is gone and a technician won’t be able to see what the opener was reporting. Write it down first, then reset and retest.
Replacing only the broken spring saves money today but creates a new problem: the new spring carries more load than the old one, which means the old spring fails sooner than it would have otherwise. On a two-spring torsion system, both springs should be replaced at the same time. The labor cost is the same either way, and you’re not paying for a second service call in three months.
Temperature affects metal, and in Downtown San Diego the temperature swing between cool coastal mornings and warm afternoons is enough to change how a marginal door operates. A spring that’s losing tension will perform better when cold (metal contracts, slightly more tension) and worse when warm (metal expands, tension drops). A door that only misbehaves in the afternoon has a spring that’s near the end of its life.
Yes, if you’re only lubricating the rollers, hinges, and spring coils with a silicone-based lubricant, and you never place your hands near the spring coils or cable drums. The door should be closed and the opener unplugged before you start. If you’re not sure which parts to lubricate, or the door makes popping or grinding noises that lubrication doesn’t fix, call (866) 321-6057 and we’ll handle it during a standard maintenance visit.
Yes. We’re trained and equipped to service LiftMaster, Chamberlain, Genie, Clopay, Amarr, Wayne Dalton, Craftsman, and Raynor products. Whatever brand is on your garage, we know it. Opener repair is a dedicated service for us, not an add-on, which means the electronics and drive systems are handled by technicians who work on them daily. Whether it’s a LiftMaster belt drive or a Genie screw drive, the diagnosis and repair come from brand-specific knowledge, not guesswork.
The Bottom Line
Garage door troubleshooting is a diagnostic discipline, not a parts-swapping exercise. For more guides & resources, explore our blog. The symptom is the starting point, the system is the map, and the source is the target. Start with observation, trace the symptom to the right system, and resist the urge to replace parts before you know what’s actually broken. A door that moves slowly is usually a spring or lubrication issue, not a dead opener. A door that reverses is usually a sensor, a limit setting, or a track bind – not always the photo eyes. And anything involving springs, cables, or logic boards is not a DIY repair no matter how many YouTube videos you’ve watched. Willow Garage Door Repair serves Downtown San Diego with brand-agnostic expertise across all eight major manufacturers, from a snapped spring to a full new door. Call (866) 321-6057 for a free estimate, and we’ll read the door with you before anyone starts spinning a wrench.
Written by the team at Willow Garage Door Repair, serving Downtown San Diego since 2013.