
Last updated November 2, 2026
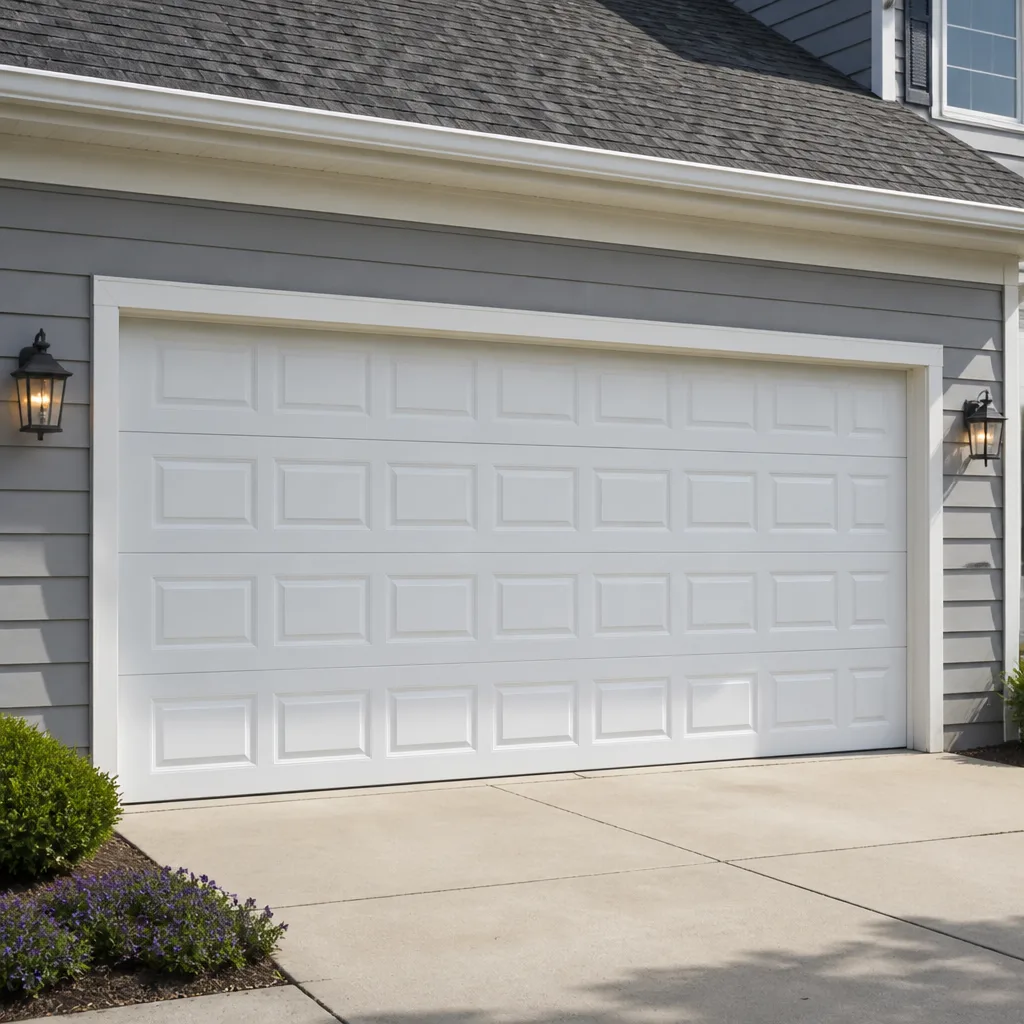 Raised-panel steel
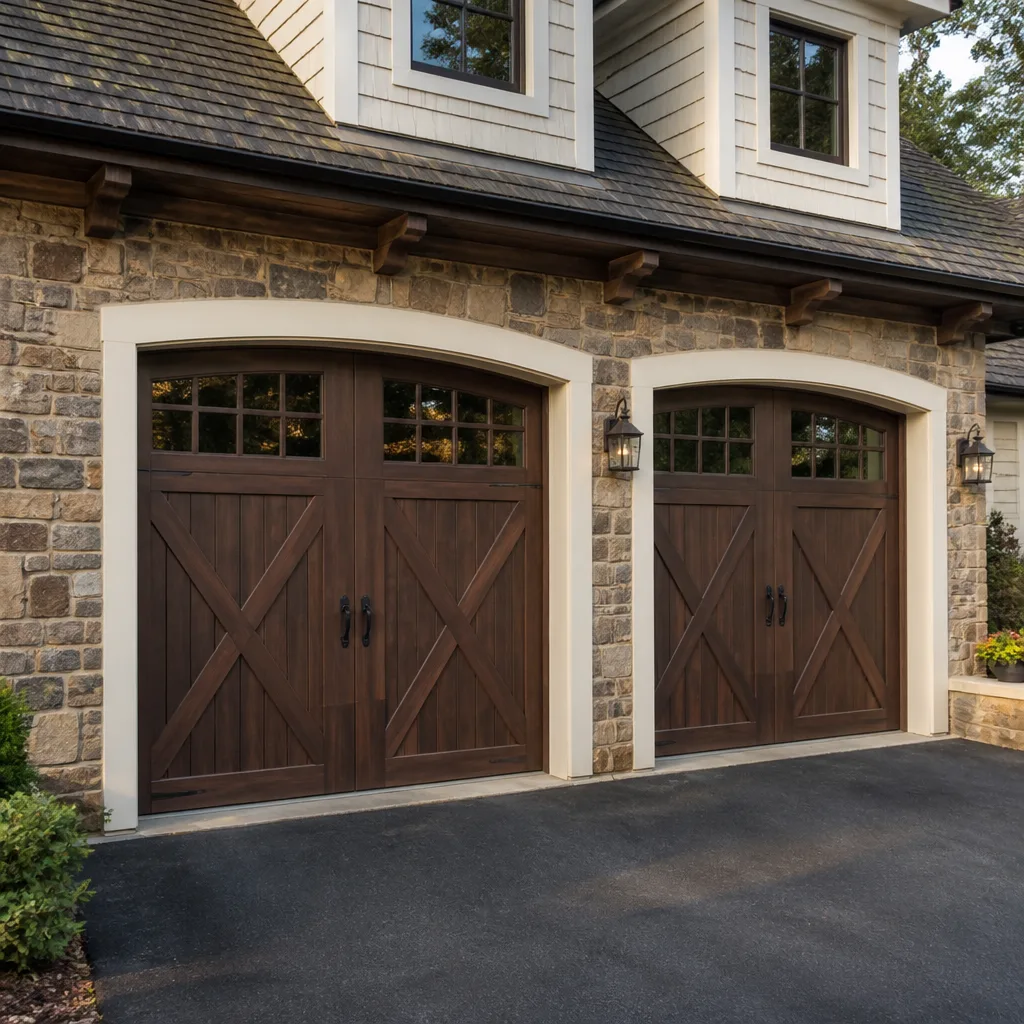 Carriage house
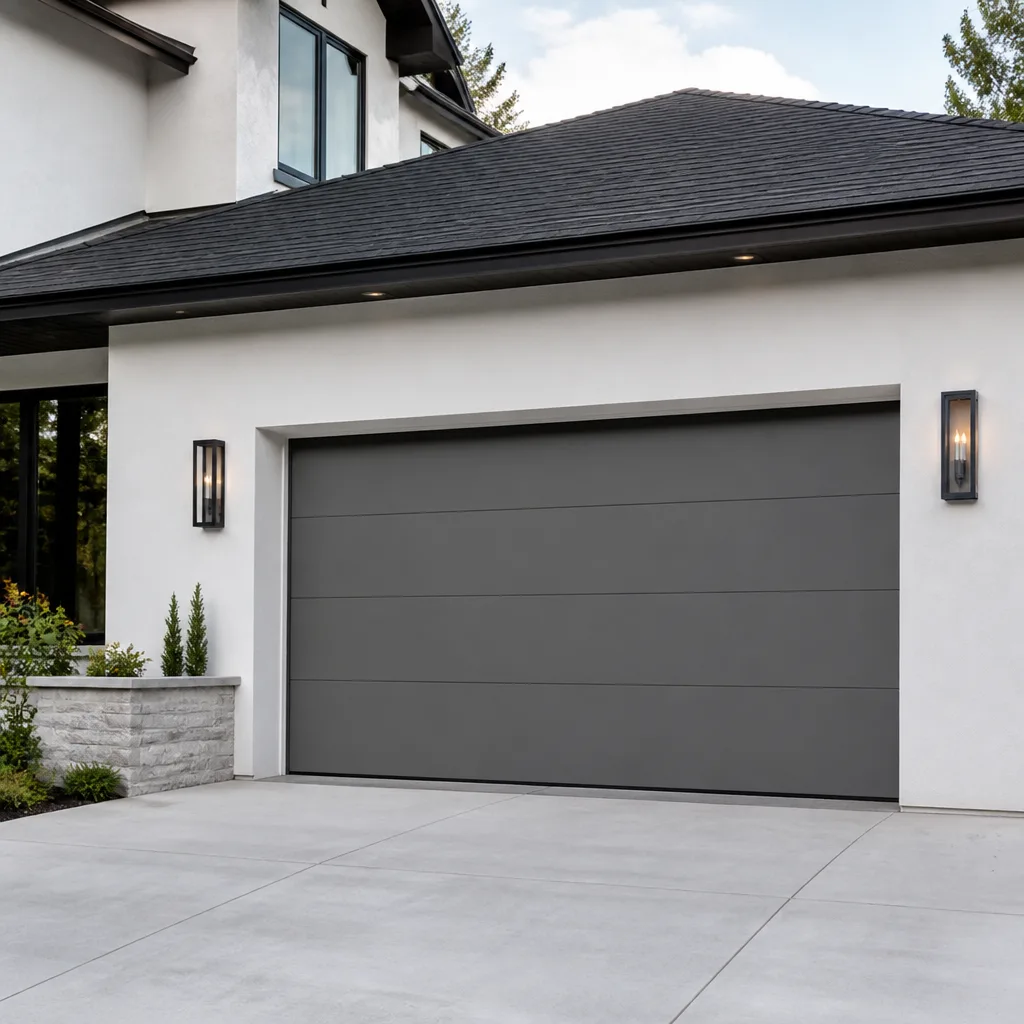 Modern flush
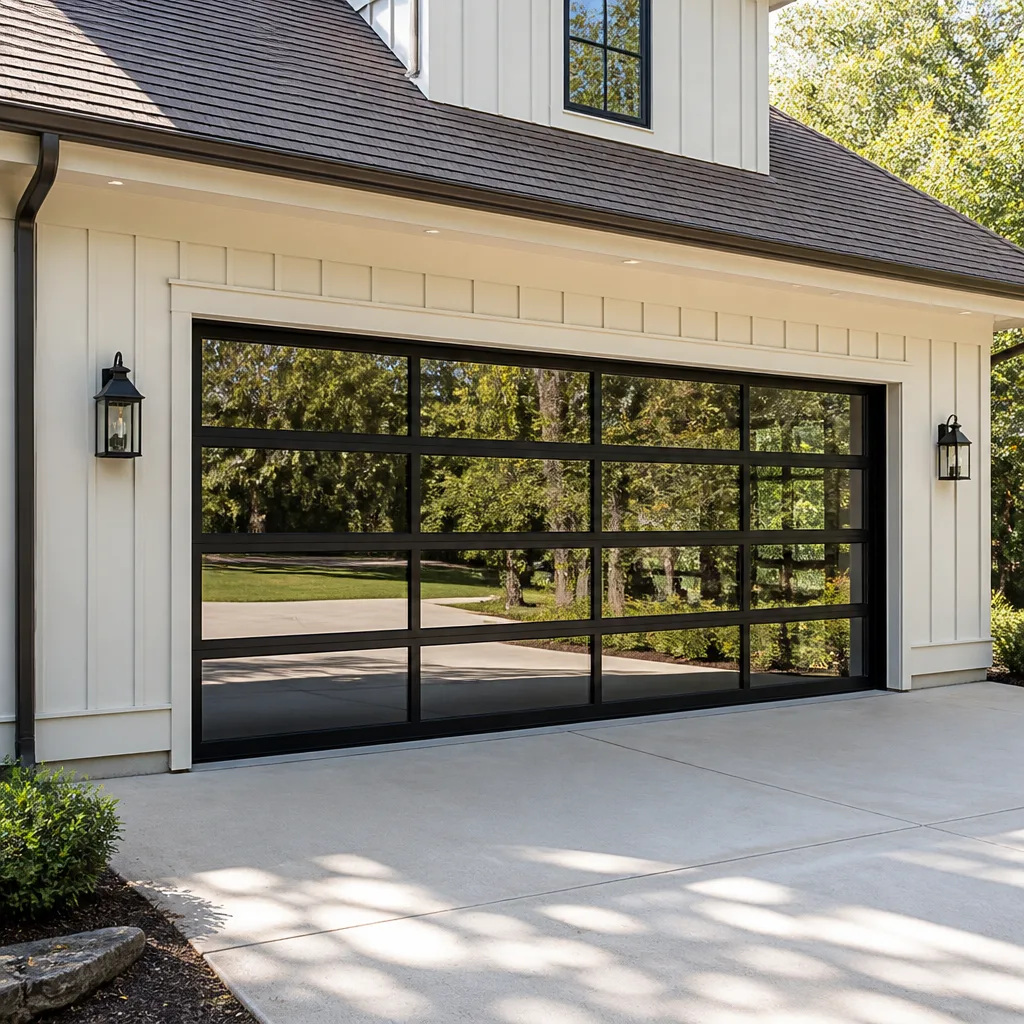 Full-view glass
 LiftMaster openers
 Chamberlain openers
Full 25-point door and opener safety check with every visit - springs, cables, rollers, tracks, and your LiftMaster or Chamberlain opener included
You get a price before we start. It does not change when the truck arrives.
Get your free estimateGarage Door Repair Maintenance Checklist for Downtown San Diego Homeowners
Every “standard” garage door maintenance guide you’ll find online was written for somewhere with four real seasons. Run that generic checklist on a garage two blocks from the bay and you will miss the exact things that fail first. Salt air, constant moisture, and narrow temperature swings with high humidity create a wear pattern most national checklists never address. This guide is written specifically for the Downtown San Diego garage: what corrodes, what binds, what turns brittle, and the calendar you should actually follow. We’ll walk through the quarterly and annual checks that prevent the three most common Garage Door Repair calls we get from downtown homeowners.
Styles & brands we work with
- Raised-panel steel
- Carriage house
- Modern flush
- Full-view glass
- LiftMaster openers
- Chamberlain openers
Quick Answer
Downtown San Diego garage doors need a maintenance routine built around salt air and marine-layer moisture, not just seasonal temperature changes. Inspect hinges, rollers, track brackets, and springs for surface corrosion every quarter, lubricate moving parts every 3 to 4 months with a silicone-based lubricant, test the opener’s auto-reverse and sensor alignment monthly, and replace weatherstripping when it shows brittleness rather than waiting for visible cracks. Most homeowners can handle about 70% of this themselves; the remaining checks, especially spring tension and cable condition, warrant a technician who works on these systems daily.
Table of Contents
- Why Downtown San Diego Needs a Different Checklist
- The Quarterly Maintenance Checklist: 8 Things to Do Every 3 Months
- The Annual Deep-Check: What to Inspect Once a Year
- Salt Air and Corrosion: Where It Strikes First
- Lubrication Timing for Downtown San Diego’s Climate
- Weatherstripping: Salt-Air Brittleness vs. Normal Wear
- Opener Sensitivity and Auto-Reverse: Testing Cadence
- Common Mistakes to Avoid
- When to Call a Professional
- Frequently Asked Questions
- The Bottom Line
Why Downtown San Diego Needs a Different Checklist
Here’s the thing about the marine layer: it doesn’t announce itself. It rolls in most nights between May and August, sits on your garage’s metal components for eight to ten hours, and burns off by late morning. That daily moisture cycle, combined with salt particles carried onshore from the Pacific, creates an environment that accelerates surface corrosion on untreated steel parts. A garage door in Hillcrest or Mission Hills, a few miles inland, does not see the same exposure as one in Marina, Little Italy, Cortez Hill, East Village, or the Gaslamp Quarter. If you park within a mile of the bay, this is your reality.
The standard checklist tells you to lubricate twice a year. That works in Phoenix. In Downtown San Diego, the constant moisture means lubricant breaks down faster and metal surfaces stay damp longer. Missing a lubrication cycle by a month here has more consequence than it does anywhere inland. Our technicians working across Downtown San Diego see the same pattern week after week: doors that were maintained on a “national average” schedule show corrosion at the hinge pins and roller brackets first, then at the bottom of the vertical tracks.
What also surprises homeowners is that the door’s finish matters less than the hardware. A beautiful Clopay steel door with a factory finish can still be held together by zinc-coated hinges that give up after three summers of marine exposure. The door panel might look new while the hinges underneath are rusting into place. That’s why the checklist below inspects hardware more often than panels.
The Quarterly Maintenance Checklist: 8 Things to Do Every 3 Months
These eight items form the core of your routine. They take about 45 minutes total, and most do not require more than a stepladder, a flashlight, and a tube of lubricant. If you complete these four times a year, you will catch nearly every developing problem before it becomes an emergency repair call. For Garage Door Repair Troubleshooting: Common Problems and How to Fix Them, see our detailed guide.
- Inspect all hinge plates and pins. Look for reddish-brown staining, white powdery residue on galvanized coatings, or any stiffness when the door moves through a full cycle. Hinges corrode before they fail visibly.
- Check roller condition. Spin each roller by hand with the door in the down position. Nylon rollers should spin freely with no grinding. Steel rollers on the bottom brackets are the first to develop surface rust in coastal air. If you hear any grinding, plan for replacement.
- Examine track brackets and mounting bolts. Surface rust on the brackets that hold vertical and horizontal tracks is a leading indicator that moisture is getting to hardware. Tighten any bolt that has visible rust, since corrosion thins the threads over time.
- Lubricate hinge pivots and roller bearings. Use a silicone-based or lithium-based spray lubricant. Two to three small drops per hinge point and a light pass along the roller stems. Wipe away excess so it doesn’t attract dust.
- Lubricate the spring system. If you have torsion springs mounted above the door, spray the coils lightly. The goal is to reduce friction between coils as they wind and unwind, not to soak the spring. A dry spring will eventually develop surface rust and bind. Never attempt to adjust spring tension yourself, no matter how “straightforward” the YouTube video makes it look. That is the single most dangerous component on the entire door.
- Test the auto-reverse mechanism. Place a roll of paper towels or a 2×4 flat under the door’s path and close it. The door should reverse within two seconds of contact. If it doesn’t, stop using the opener and address it immediately.
- Check sensor alignment. The two photo-eye sensors near the bottom of each track should face each other directly. Look for steady indicator lights (usually green or amber depending on brand). Wipe the lenses with a dry cloth. Salt film builds up on sensor lenses here faster than most homeowners expect.
- Inspect weatherstripping along the bottom and sides. Press your fingernail into the rubber. If it leaves a lasting indent, the material still has flexibility. If the material feels rigid or shows hairline cracks, it is losing its ability to seal.
For households in downtown high-rises or converted lofts where the garage is a shared or tandem space, you’ll likely only be responsible for your own door and opener, not the building’s mechanical systems. But these same checks apply to any private door you operate, including parking-garage style doors in condominium buildings.
The Annual Deep-Check: What to Inspect Once a Year
Once a year, go deeper. This is not a longer version of the quarterly list. This is a different level of inspection. We recommend scheduling it for early fall, after the summer marine-layer season has ended and before the winter rain pattern begins. Here is what to look at:
- Spring tension and coil gap. Stand at a safe distance and observe the torsion spring as the door opens and closes. The coils should expand and contract evenly. If you see uneven gaps between coils, or if one side of the spring moves while the other does not, the spring is developing a problem. Do not adjust or “reset” anything. This inspection requires a professional.
- Cable condition. The lift cables that run along each side of the door are under constant tension, even when the door is closed. Look for fraying, kinking, or rust staining where the cable meets the drum at the top of the track. A frayed cable in Downtown San Diego is often the result of salt-moisture corrosion eating away at individual strands over several seasons. We see this most often in Marina District and Little Italy buildings where garage doors face the prevailing marine airflow.
- Panel-to-frame seal. Run your hand along the inside edge of the door where it meets the frame. You’re feeling for air gaps, which tell you the weatherstripping has compressed beyond usefulness. In a coastal climate, a gap the width of a credit card will let in enough damp air to keep the garage interior consistently above 70% humidity at night.
- Opener drive system. Whether you have a Chamberlain belt drive, a Genie screw drive, or a chain drive, inspect the rail for signs of uneven wear. Look for fine metal shavings near the motor unit, which indicate the drive gear is chewing itself up. Listen for a change in the opener’s sound from when it was new. A slower, grinding start is a precursor to stripped gears.
- Mounting hardware and operator brackets. All bolts, nuts, and bracket screws should be tight. Use a socket set to check torque on the track brackets where they mount to the wall and ceiling. In coastal environments, galvanized brackets lose coating integrity sooner than expected, which makes regular tightening more important than in drier climates.
- Door balance. Disengage the opener using the red emergency release handle, then manually lift the door to the halfway point. It should stay in place on its own. If it drops, the springs are losing tension. If it rises, the springs are over-tensioned. Either condition means the opener is working harder than it should, and the springs need professional attention.
If any item on this annual list gives you pause, that’s the moment to bring in someone who does this daily. Our team at Willow Garage Door Repair home runs this exact inspection on doors throughout the downtown core, and the findings are almost always magnified versions of what homeowners suspected but couldn’t confirm.
Salt Air and Corrosion: Where It Strikes First
Salt air does not attack all parts of a garage door equally. It has a clear priority order. If you know what fails first, you know where to look. Here is the sequence we observe in Downtown San Diego, most prominently in East Village, Cortez Hill, and anywhere within a half mile of the waterfront:
- Bottom brackets and bottom rollers. These sit closest to the ground, where moisture pools and salt accumulates. Galvanized coatings thin first here. This is the single most common source of corrosion-related repair calls we get downtown.
- Track mounting bolts. The vertical track’s lower sections are exposed to the same ground-level moisture. Bolts rust from the outside in, and by the time you notice, they often snap during removal instead of turning.
- Hinge pins and bushings. These small components see constant movement plus constant moisture. Pins rust, causing the hinge joint to bind. A binding hinge forces the door to flex, which eventually cracks panels.
- Torsion spring surface. Springs are oil-tempered steel with no galvanizing. They will develop a fine surface rust within two years of coastal exposure if not periodically lubricated. The rust itself does not cause immediate failure, but it creates friction between coils, and that friction changes the spring’s effective tension.
- Cable strands. Lift cables are galvanized aircraft cable, but the galvanization is thin. In the marine environment, individual strands corrode under the exterior winding. The cable looks intact until it isn’t.
Hardware made for coastal environments exists. Stainless steel hinges, rust-resistant rollers with sealed bearings, and powder-coated brackets all hold up better than standard galvanized components. If you are replacing hardware in a downtown garage, and particularly if your building faces west toward the bay, upgrade to these materials. The price difference is modest compared to the cost of repeating the same replacement in three years.
Lubrication Timing for Downtown San Diego’s Climate
The typical advice is “lubricate twice a year.” For a garage in Normal Heights, that’s adequate. For a garage in Marina, Little Italy, or the Gaslamp Quarter, it is not enough. Here’s why: the marine layer deposits microscopic salt particles onto every exposed surface. When you lubricate on top of that salt film, you trap the salt against the metal. That means the lubrication schedule and the cleaning schedule are linked. You cannot skip straight to the spray can.
Our recommendation for Downtown San Diego homeowners is a 3-to-4 month interval, which works out to roughly four lubrication cycles per year. Each cycle follows the same three-step sequence:
- Wipe down visible hardware. Use a dry microfiber cloth on hinges, roller stems, and track brackets. Remove any salt film or white residue first. Do not use water. You are removing salt, not adding more moisture.
- Apply silicone or lithium spray lubricant. Target hinge pivots, roller bearings, spring coils, and the lock mechanism. Use a short spray, not a flood. Excess lubricant drips down and creates a sticky residue on the track, which then collects dust and grit.
- Wipe excess. A light film is enough. Run a clean cloth over each point you’ve sprayed to remove anything that would drip or pool.
One specific note: WD-40 is not the right product for garage door maintenance. It is a water displacement formula and a solvent, not a long-term lubricant. It will soften surface rust temporarily, but it will also strip whatever lubricant is already there. Use a dedicated garage door lubricant or a pure silicone spray. The difference matters more in a salt-air environment where you’re already fighting faster degradation.
Door brand also matters here. Amarr doors, for example, use nylon rollers and heavier-gauge steel in many of their models, which changes how they hold up in coastal exposure. Wayne Dalton doors often use TorqueMaster springs that are enclosed in a tube, protecting them from direct salt air but also requiring different inspection techniques. A technician who knows the difference between a standard torsion system and an enclosed system will save you time and false alarms. That’s exactly the range of familiarity our technicians carry, whether the door says Clopay, Amarr, Genie, or another manufacturer’s name.
Weatherstripping: Salt-Air Brittleness vs. Normal Wear
Weatherstripping fails in two ways. The first is mechanical wear: the rubber compresses every time the door closes, and over years it loses its rebound. The second, and the one that dominates in Downtown San Diego, is chemical degradation. Salt and UV radiation work together to break down the rubber’s polymer chains, causing the material to harden and crack even if the door has not cycled that many times.
Here is how to tell which failure mode you’re looking at. Normal mechanical wear shows up as a flattened profile: the rubber is still flexible when you bend it, but it has lost its shape and no longer fills the gap. Salt-air brittleness shows up differently: the rubber feels stiff to the touch, the surface shows hairline cracks or a chalky whitish film, and small pieces flake off when you run a fingernail along the edge.
If you have mechanical wear, replacing the weatherstripping with the same material type is fine. If you have salt-air brittleness, replace it with a higher-grade material. In our experience across the downtown core, the best-performing materials for coastal exposure are EPDM rubber and thermoplastic elastomer (TPE). Both resist UV degradation and salt damage better than plain vinyl compression strips. The cost difference at the time of replacement is small, and the service life in a Marine or Little Italy garage is meaningfully longer.
Replacement is straightforward. Pull the old strip out of its channel, clean the channel thoroughly, and press in the new material. The job takes about 20 minutes for a standard single door, and most homeowners handle it themselves. The critical step is cleaning the channel: if you press new weatherstripping into a channel coated with salt residue, the new material starts its life sitting directly against corrosive particles. Use a dry cloth, then wipe the channel with isopropyl alcohol and let it dry before installing.
Opener Sensitivity and Auto-Reverse: Testing Cadence
Your garage door opener has two safety systems that need testing. The first is the auto-reverse, which reverses the door when it strikes an obstruction while closing. The second is the sensor system, which prevents the door from closing when the photo-eye beam is interrupted. Both are designed to protect people, especially children and pets. Both can degrade without your noticing.
In Downtown San Diego, where many homeowners use the garage as their primary building entry, the opener is cycling more frequently than in a suburban setting. Condo and loft dwellers in East Village and the Gaslamp Quarter often go in and out through the garage multiple times per day. That’s thousands of cycles per year, and each cycle puts wear on the opener’s drive system, logic board, and safety sensors. A monthly testing cadence is not paranoid; it is proportional to the actual use pattern.
Here is the monthly test sequence we recommend:
- Test the auto-reverse with an obstruction. Lay a 2×4 or a full roll of paper towels flat on the ground under the door’s path. Close the door with the opener. The door should reverse immediately after contacting the object. If it compresses the object for more than a second before reversing, the force setting is too high.
- Test the photo-eye sensors. With the door open, wave your hand through the beam between the two sensors while the door is closing. The door should stop and reverse immediately. If it closes through the beam, the sensors are misaligned or the wiring has a problem.
- Check the sensor indicator lights. Most brands use an LED on each sensor. On a Chamberlain opener, both lights should be steady. On a Genie opener, one light may be green and the other red. The exact color coding varies by generation, but the rule is simple: if either light is blinking or out, the sensors need attention.
- Listen to the opener during a full cycle. Stand near the motor unit. The sound should be even across the full travel: no grinding at startup, no hesitation at the midpoint, no clicking from the logic board. A change in sound is often the first sign of a stripped gear or a failing capacitor.
- Check the force adjustment dials. Most openers have two small dials on the motor unit, usually marked “open force” and “close force.” Note where they are set. If the door has changed behavior, do not adjust these yourself. The force settings interact with spring tension, track alignment, and lubrication. Changing one variable without understanding the others is how doors get damaged. A technician can diagnose the root cause and adjust the opener only after confirming the mechanical system is correct.
If your opener is failing these tests, a dedicated Garage Door Opener Repair in Downtown San Diego call is the right next step. Opener issues are often misdiagnosed as spring problems, and vice versa. The fact that the door reverses suddenly or stops halfway doesn’t automatically tell you which component is responsible. That’s why we treat opener repair as a distinct discipline rather than a side note on a general repair.
Common Mistakes to Avoid
- Following a national maintenance schedule without adjusting for coastal exposure. If your checklist says “lubricate twice a year,” you are under-maintaining by half in Downtown San Diego. The marine layer doesn’t care what the national average is.
- Using WD-40 or penetrating oil as a lubricant. These products clean and displace moisture, which has its place, but they do not lubricate. Using them as your main maintenance product leaves the metal with less protection than before you applied it.
- Ignoring surface rust on bolts and brackets because “it still works.” Rust is not a cosmetic issue on structural hardware. By the time a corroded bolt fails, it often snaps during removal, which turns a simple hardware replacement into a more involved repair.
- Adjusting spring tension or opener force settings without understanding the whole system. Springs, cables, tracks, and opener settings interact. Changing one variable changes the load on every other component. This is the most common way homeowners turn a $150 maintenance issue into a $1,000 repair.
- Waiting until weatherstripping shows visible cracks before replacing it. In a salt-air environment, visible cracks are the late stage. The material loses its sealing ability before it breaks apart. Test flexibility quarterly and replace when the rubber no longer rebounds.
- Testing the auto-reverse with something soft. Your hand, your foot, or a cardboard box does not simulate the resistance of a child or a bicycle. Use a solid object with enough weight to trigger the reverse mechanism at the appropriate force threshold. A 2×4 or a full paper towel roll is the standard.
- Assuming the door is fine because it opens and closes quietly. Many developing problems are silent until the moment they become sudden. A balanced door with a failing spring can still operate smoothly right up until the spring snaps. Quiet operation is not the same as healthy operation.
When to Call a Professional
There is a line between maintenance and repair, and knowing where it sits saves you from turning a diagnosis into a bigger problem. Call a technician when the door will not stay balanced at the halfway point, when you see any fraying on a lift cable, when the torsion spring shows uneven coil spacing, when the opener fails the auto-reverse or sensor tests repeatedly, or when you hear a grind that cannot be lubricated away. These conditions involve components under tension or electronics that can damage themselves further with continued use.
Willow Garage Door Repair offers free estimates in Downtown San Diego. Call (866) 321-6057 and we will take a look at whatever is happening, tell you what’s actually wrong, and give you a straight answer on what it costs to fix.
Frequently Asked Questions
Every 3 to 4 months, which works out to roughly four times a year. The marine layer’s constant moisture and salt content break down lubricants faster than inland climates, so the “twice a year” advice found on generic checklists falls short for downtown garages. Use a silicone-based or lithium-based spray, never WD-40, and wipe hardware dry before applying so you don’t trap salt against the metal.
The bottom brackets and bottom rollers corrode first because they sit closest to the ground, where moisture and salt pool. Hinge pins and track mounting bolts are next in line. In our work across Marina, Little Italy, and East Village, the bottom hardware is consistently the first component to show rust damage, often while the door panels themselves still look new.
Yes. Standard vinyl weatherstripping turns brittle faster in salt air, so you want EPDM rubber or TPE material, both of which resist UV and salt degradation better. If your weatherstripping feels stiff with hairline cracks, the material has already chemically degraded. Clean the channel thoroughly before installing the replacement so you don’t seat new rubber against old salt residue.
Yes, and you should do it monthly, especially in Downtown San Diego where the garage is often the primary building entry and the opener cycles thousands of times per year. Place a 2×4 or full paper towel roll under the door and close it; the door should reverse within two seconds of contact. Then wave your hand through the sensor beam while closing; the door should stop and reverse. If it fails either test, call a professional rather than continuing to use the opener.
Surface rust itself is not an immediate failure, but it creates friction between the spring coils, which changes the spring’s effective tension and accelerates future wear. A spring with visible rust should be lubricated and inspected, but never adjusted by a homeowner. Torsion springs are under constant, dangerous tension, and any adjustment attempt is a safety risk. Call a professional if you’re not sure of the spring’s condition.
Early fall works best in Downtown San Diego. The summer marine-layer season has wound down, so you have a clear picture of what the humidity and salt air did to your hardware over the previous months. It also gives you time to make repairs before the winter rain pattern begins, when moisture exposure gets even heavier.
The Bottom Line
Your garage door in Downtown San Diego lives in a different environment than the average American garage, and the maintenance routine should reflect that. Quarterly hardware inspection, four-times-a-year lubrication, monthly opener safety testing, and an annual deep-check will keep your door from becoming one of the emergency repair calls we see every week. When something does go wrong, or when you want a professional’s eyes on anything from a Genie opener to an Amarr door, Willow Garage Door Repair is ready. Call (866) 321-6057 for a free estimate, and know what you’re dealing with before you spend a dollar.
Written by the team at Willow Garage Door Repair, serving Downtown San Diego since 2013. Explore more guides & resources on our blog.
See the difference
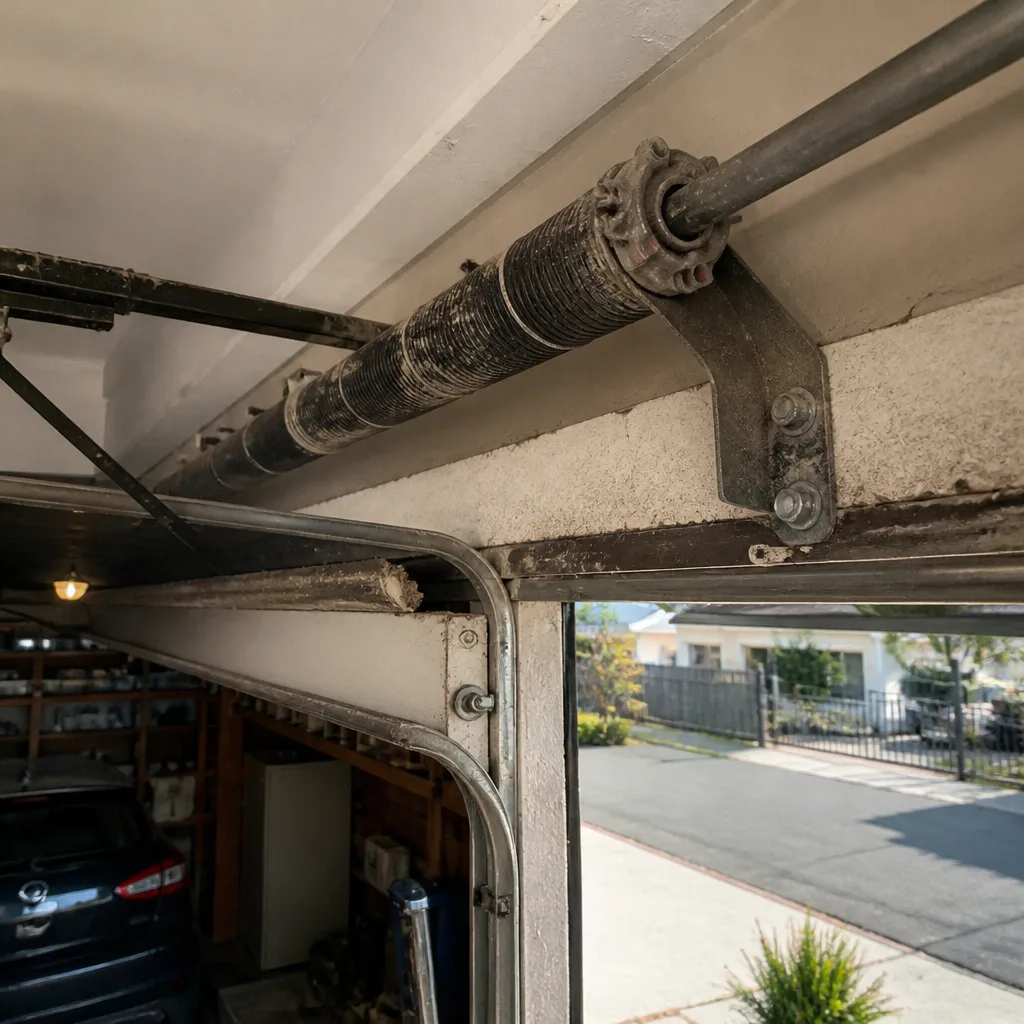 Before
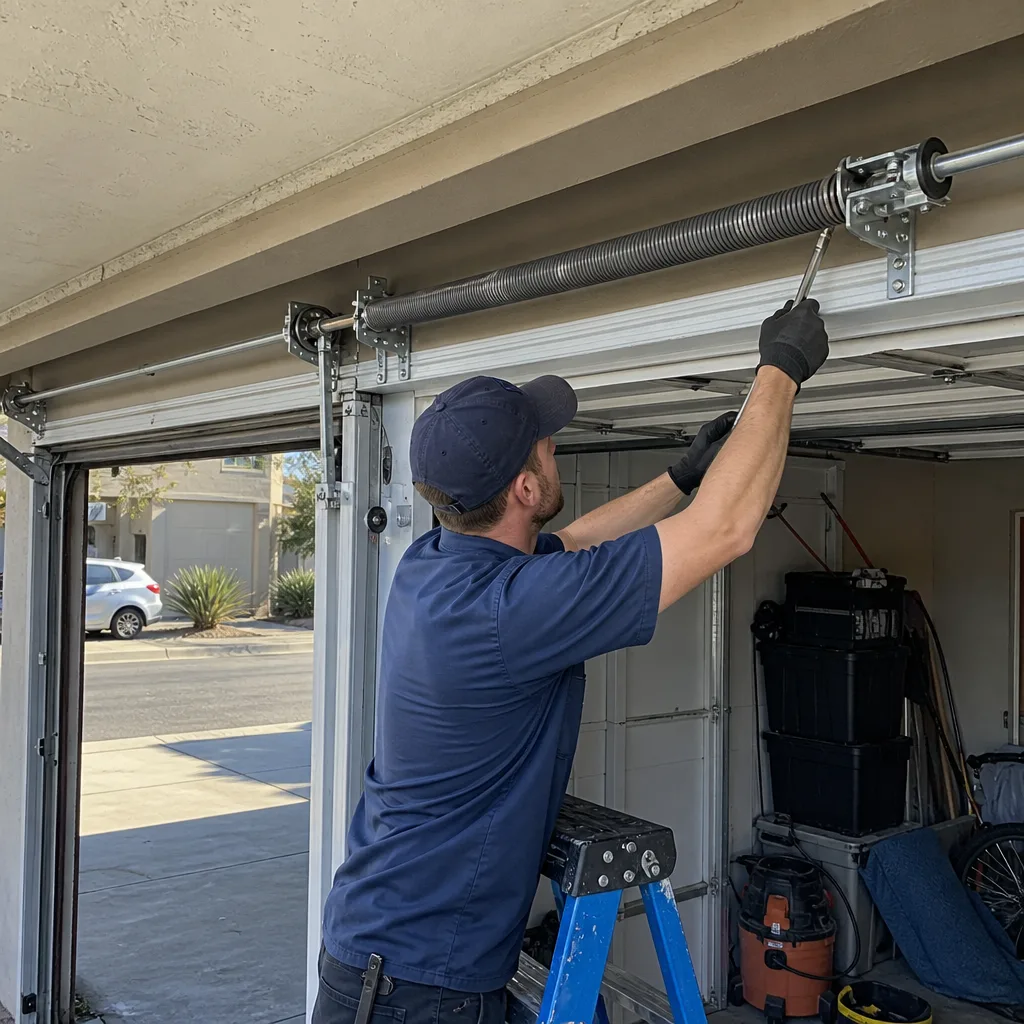 After
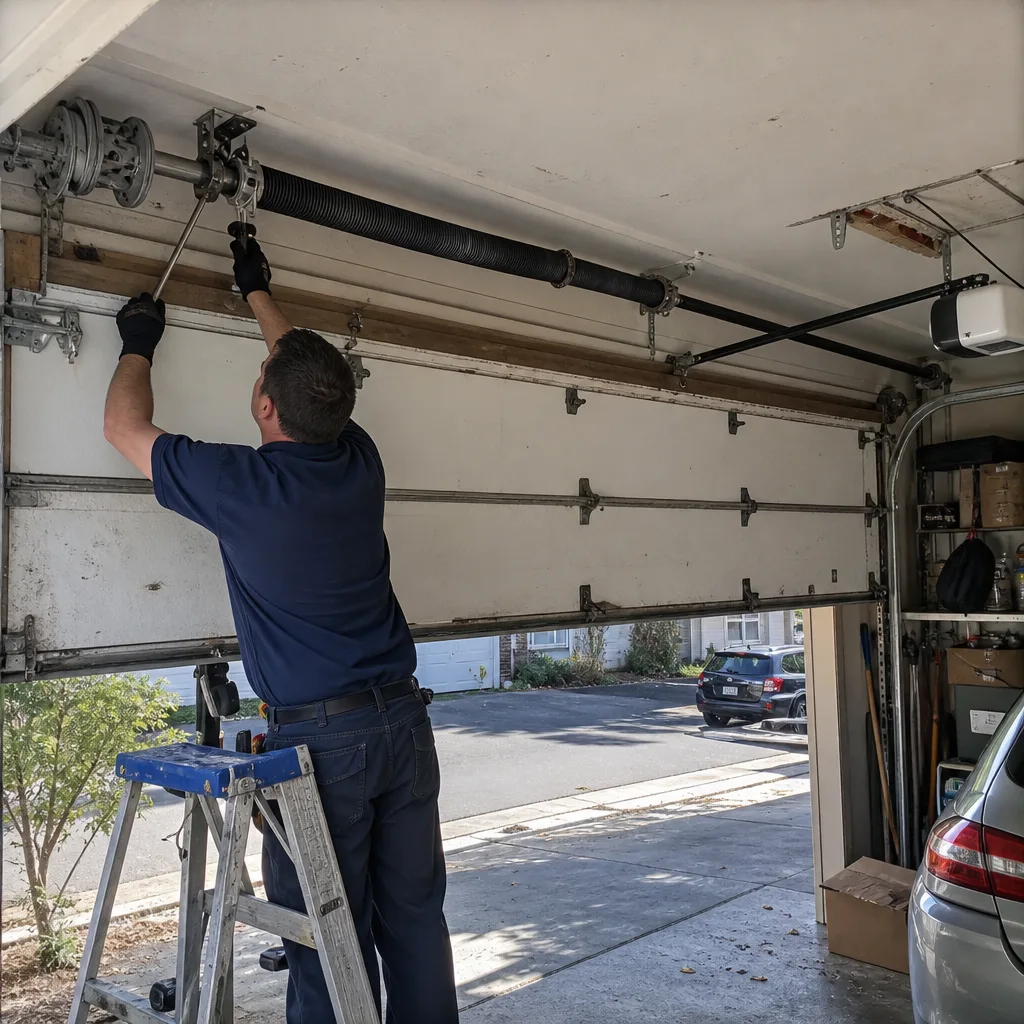 Before
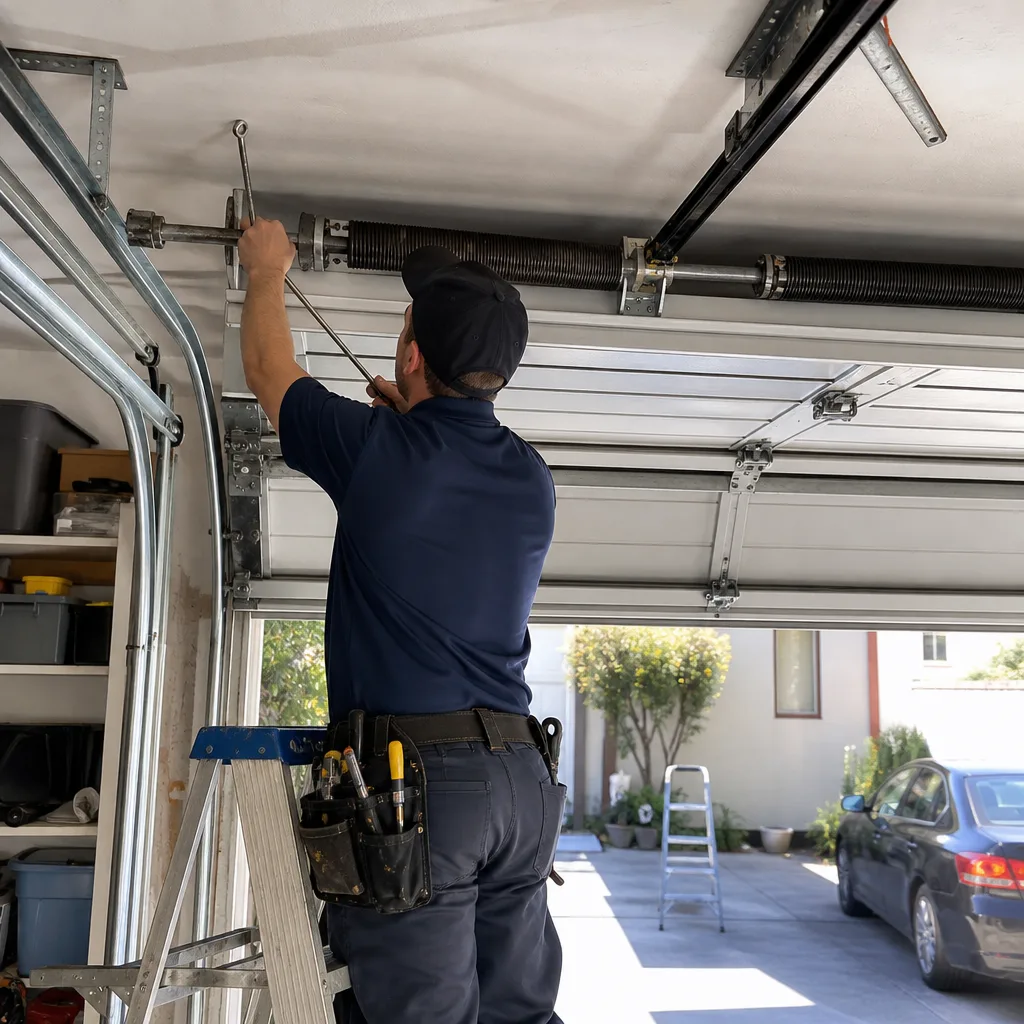 After
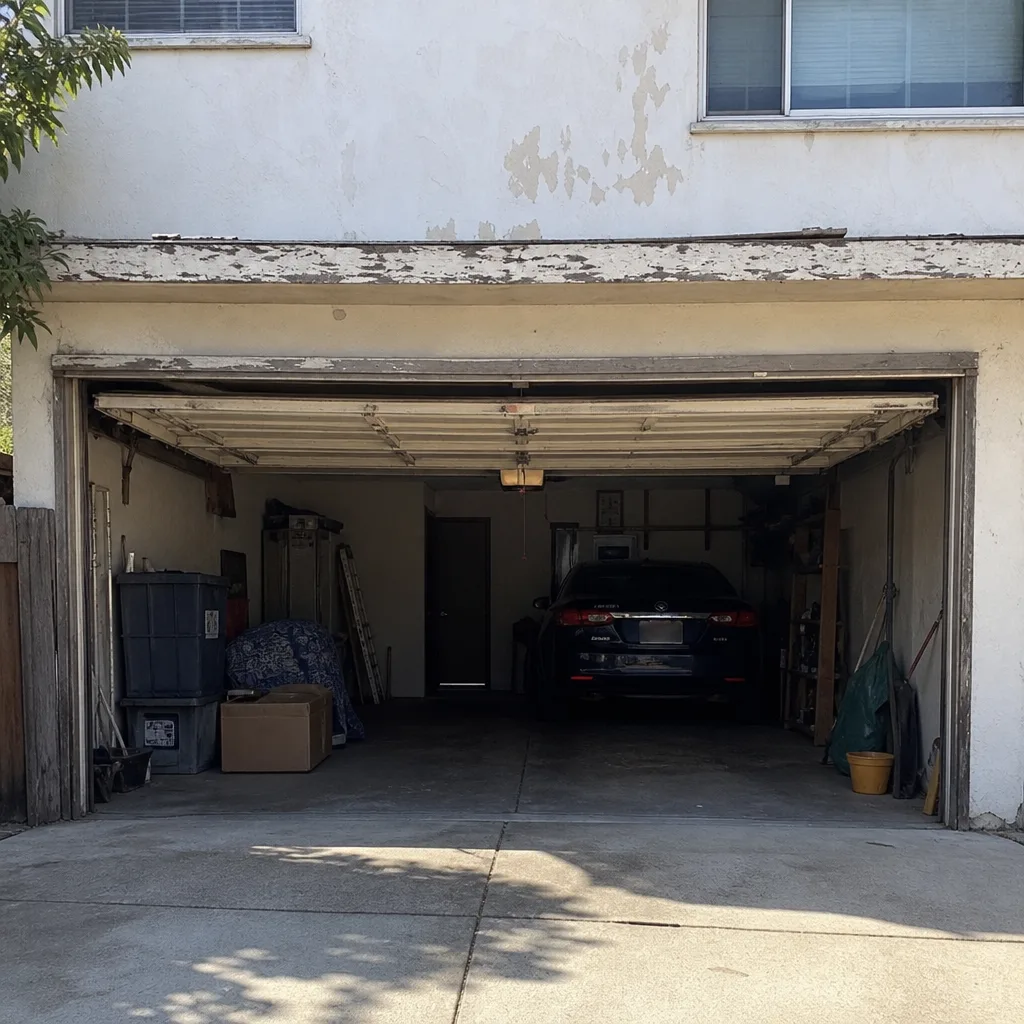 Before
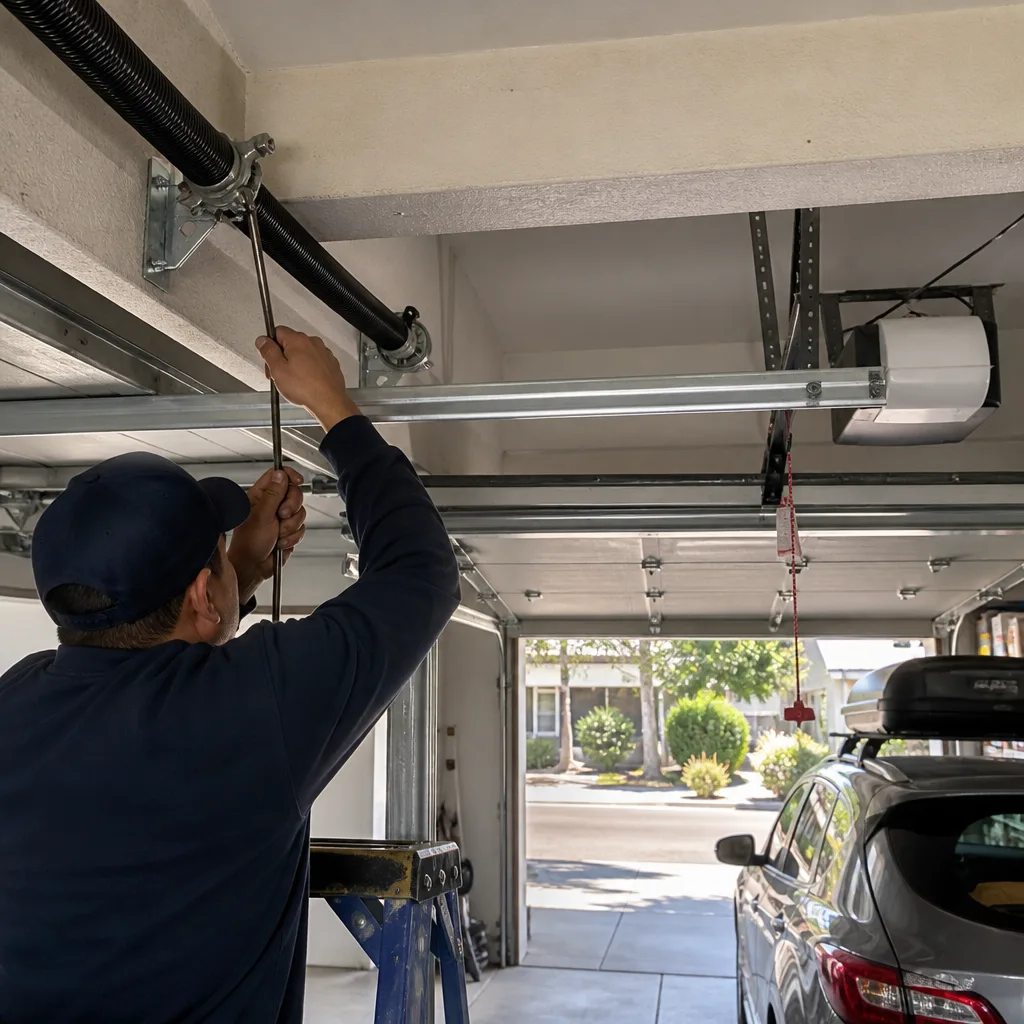 After